Roofing
Quick Reference
- Confirm colors of shingles and all trims
- Move client cars and valuables out of work zone
- Replace any rotted sheathing/fascia
- Install plywood clips where needed
- Ice & water shield ≥ 24″ inside warm wall (R905.1.2)
- Full-field synthetic underlayment
- Take inspection photos: open roof, underlayment, details
- Final magnet sweep/clean-up—remove all debris/fasteners
Overview
This guide covers the most common systems installed in residential construction in the US: architectural asphalt shingles, standing-seam metal, and EPDM for low slopes. It is written for pros remodelers and crews, meant to give enough info to get started or manage an install with a focus on best results and code compliance.
Prerequisites
- Inspect deck & fascia—stage material for repairs ahead of tear-off
- Order roofing material for rooftop delivery or ground drop as needed
- Coordinate: All other trades off site for roofing day
- Notify client: noisy days, move cars, protect landscaping/valuables
- On new builds, fascia must be in place before installing the roof
Materials / Tools Checklist
- Ice-&-water membrane (ASTM D1970)
- Synthetic underlayment
- Drip edge (eave and rake)
- Fascia boards for replacement
- 1/2″ OSB for repairs (w/ plywood clips)
- Roofing material:
- Asphalt: shingles, starter, cap
- Metal: panels, clips/cleats, butyl tape
- EPDM: 60 mil sheet, bonding adhesive, 5″ seam tape (1 mil = 0.001 in.)
- Nailer, stapler, hand seamer, metal snips, roller, shears, knives, pop riveter
- Roof jacks and 2×6
Installation Process
- Workspace Preparation
- Clear the area – move cars, furniture and decoration
- Prep the site – place tarps and protection
- Stage ALL materials: replacement wood, safety gear, job protection
- Pro Tip: Organize tools and material close to work area
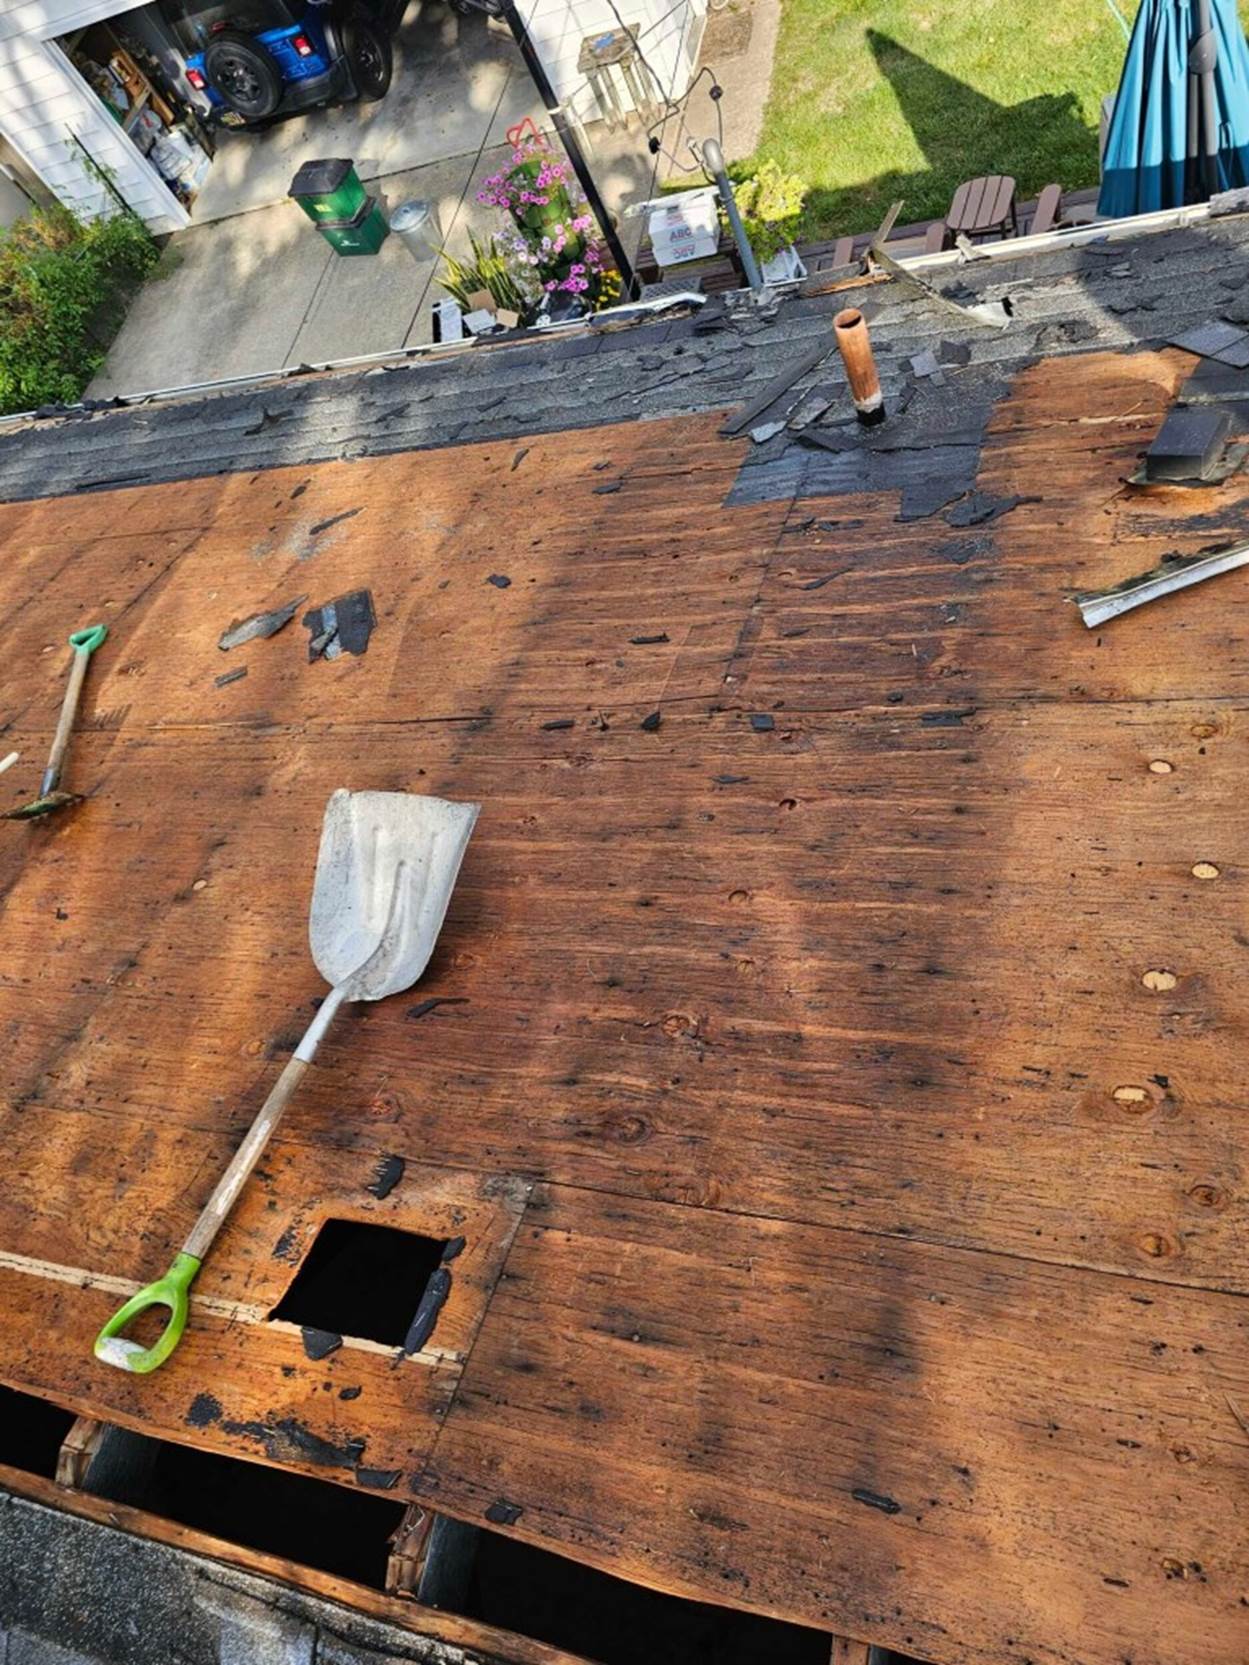
- Tear-Off & Deck / Fascia Repairs
- Strip roof to sheathing; replace rot/damaged areas; install plywood clips
- Decking: Minimum 3/8″ plywood or OSB (APA), or 1×6 with ≤ 1/8” gap.
- 8d common nails (0.131″, 2½”) – 6″ O.C. edges, 12″ O.C. field (IRC Table R602.3(1))
- 16 gauge 1.5” 7/16 crown staple allowed (some jurisdictions), 6″ O.C.
- High wind/coastal zones: 4–6” O.C. with ring shank nails
- Decking: Minimum 3/8″ plywood or OSB (APA), or 1×6 with ≤ 1/8” gap.
- Inspection: Take “Open Roof Inspection” photos of exposed sheathing after repairs
- Strip roof to sheathing; replace rot/damaged areas; install plywood clips
- Underlayment & Drip Edge
- Install drip on eaves first
- Roofing nails: 12″ O.C. (max 16″) per R905.2.8.5; nail high for coverage
- Laps: 1″ straight, 2″ changes in direction
- Install ice & water shield
- Install ice & water shield at eaves: minimum 24″ inside warm wall (R905.1.2)
- Install ice & water shield along valleys: 18″ on each side of the valley centerline
- Use high temperature non-granulated under metal roofing
- Follow manufacturer, some call for ice & water to install before drip edge and seal to fascia to prevent ice dams, but some water may miss the drip and end up between gutters and fascia.
- Install synthetic underlayment
- 15 lb felt (ASTM D226 Type I) or synthetic (ASTM D6757)
- Fasten with cap nails 6” O.C. edges, 12″ O.C. grid in field, 12-gauge min, 3/4″ penetration, 1″ cap
- Staples or roofing nails OK if covered same day with roofing
- Horizontal laps: 3″ (4:12 pitch, Owens Corning); code minimum 2″
- Vertical laps: 6″ (2024 IRC R905.1.1), manufacturers defer
- Extend 3–4″ up sidewalls
- Install double underlayment for 2–4 pitch, this usually means each course overlaps 50%+ of the course below
- Use self adhered high temperature underlayment under metal roofing
- Install drip edge on rakes
- Note: Some jurisdictions overlap these elements differently.
- Install drip on eaves first
- Flashing & Preparing Penetrations
- Flash all valleys and deck transitions per plan
- Pro Tip: Flash any deck and wall transitions prior to roof install for waterproofing
- Install Roofing System (by Type)
- Architectural Asphalt (Slope 2:12+)
- Starter
- Installed at eaves, trim 6” off first course
- Overhang eaves/rakes ¼”–¾”; offset for layout
4 fasteners min per starter, 1.5″–3″ above eave, 1″–2″ from ends, others 10″–12″ O.C.
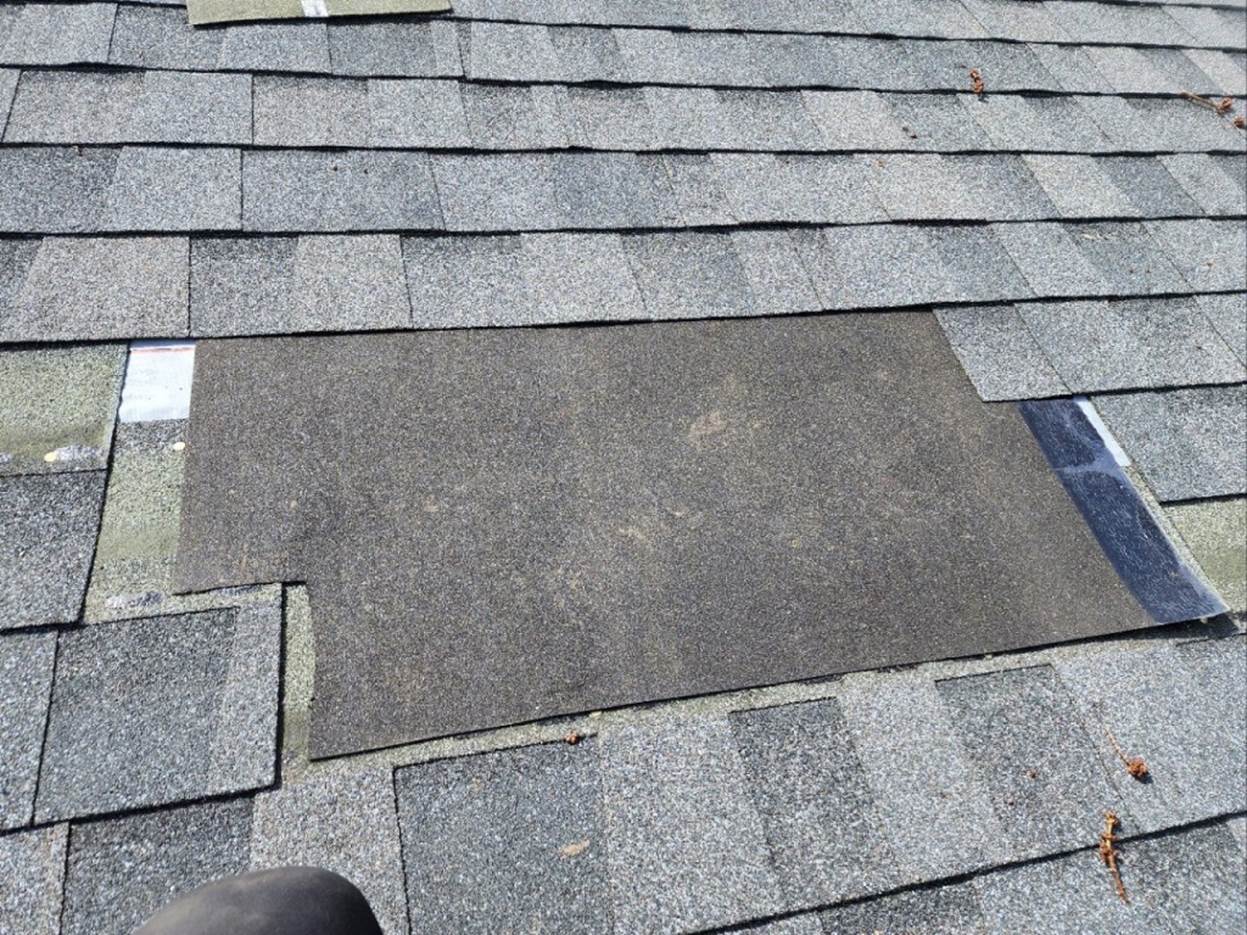
- Shingles:
- 4-nail standard/6-nail high-wind; valleys as plan (weave or open); R905.2
- 4 nails: Nail 1″ from ends, 2 more evenly spaced above cutouts, below sealant
- High wind areas: 6 nails/shingle
- Roofing nails: 1.25–1.75″ corrosion-resistant, 3/8″ head must penetrate sheathing
- Stainless nails required within 3,000 ft of saltwater
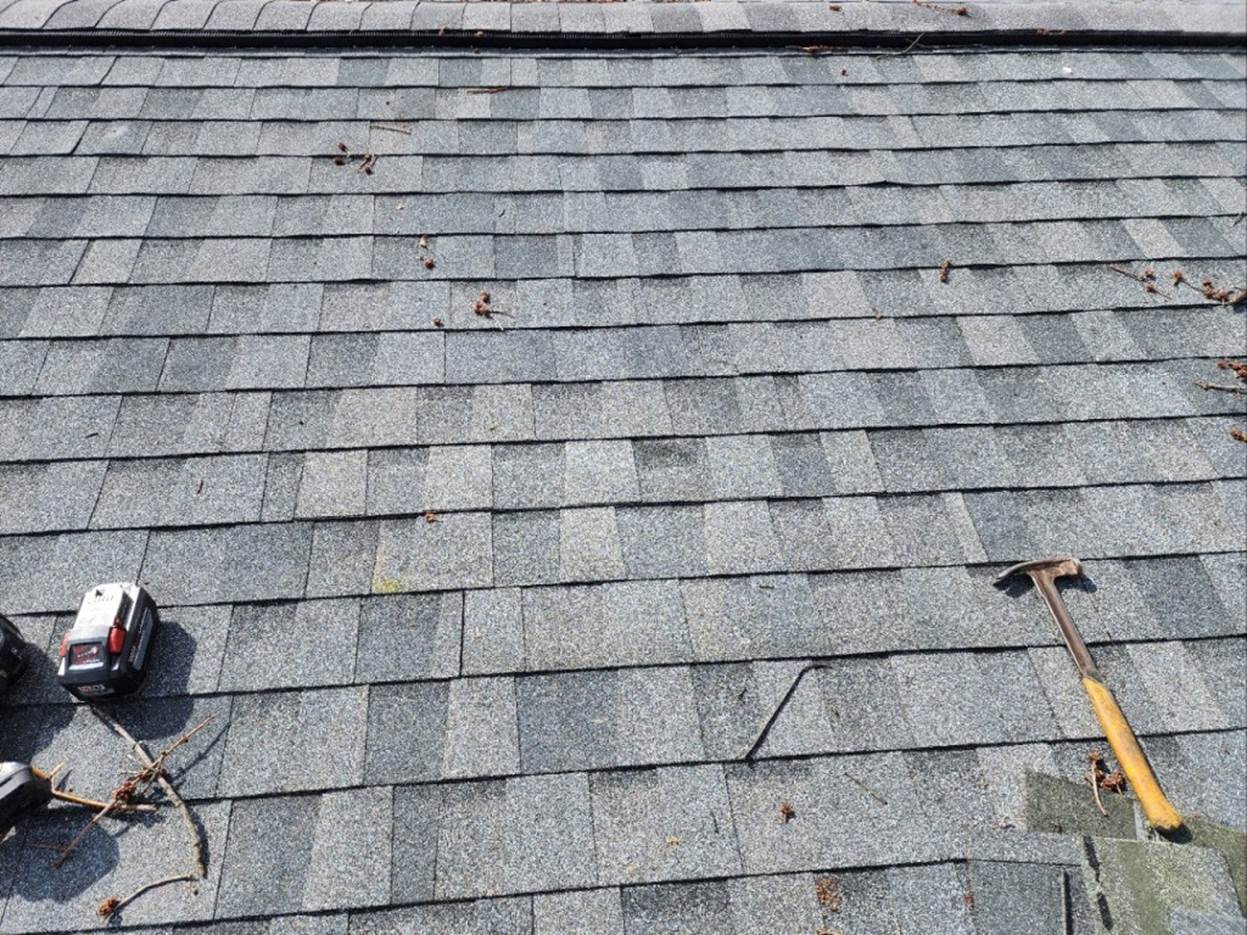
- String line every 6 courses; stagger joints
- Install flashing/boots in sequence with shingle courses as you reach pipes, vents, chimneys, skylights.
- Starter
- Standing-Seam Metal (Slope varies)
- Confirm locking strip is installed at eaves
- Install panels, usually with #10x1” pancake head screws into hidden panel edges or clips.
- Remember to clean metal shavings off of panels
- butyl or tube sealant at sidelaps (R905.10)
- All flashing for penetrations must be integrated with each panel course as installed.
- EPDM (Slope ≤ 2:12)
- Do not install underlayment
- Mechanically fasten foam underlayment
- Clean deck
- Install edges (coping)
- Unroll EPDM membrane and allow to relax for 30 minutes
- Prepare adhesive according to instructions and apply to roof deck and underside of membrane
- Do not get adhesive on lap joints or edges
- Seal seams and edges with appropriate primer and tape, rolling as instructed (R905.13)
- Architectural Asphalt (Slope 2:12+)
- Ridge/Hip Caps
- Finish with the appropriate ridge vent/cap per system: shingle, metal, EPDM termination bar
- Ventilation Ratio: 1 sq ft net free vent area/150 sq ft attic OR 1:300 with vapor barrier and balanced air flow (R806.2)
- Final Cleanup & Documentation
- Full magnet sweep to collect nails, screws, rivets, cuttings
- Manually inspect for nails/screws and debris
- Photo Step: Document installation for warranty/inspector
Inspections & Documentation
- Permits—Required for most reroofs. Flat/EPDM nearly always triggers inspection. Check your jurisdiction. Many jurisdictions allow photos in place of on site inspections.
- Full open roof: Looking for sound roof deck after repairs, nail schedule, plywood clips
- Underlayment inspection: Looking for correct fasteners and overlaps
- Final inspection: May be in person, extension past roof edge, cap/ridge in place
Client Communication & Warranty
- Confirm with client: color/profile samples, all visible flashing details
- Roof, drip, coping, cap, wall flashing
- Explain: shingle system needs slope; EPDM is for flat/low-slope only
- Advise on warranty registration and owner maintenance: gutters, spring inspections of flashings, debris removal
- Service-Life (typical): Asphalt 20–30 years, Standing-Seam Metal 40–60 years, EPDM 25–35 years (ALWAYS verify current manufacturer warranty)
Common Issues & How to Avoid Them
- Never dispose of shingles/masonry/dirt in regular dumpsters—use roofing contractor’s haul-away service
- Place skid plates under bins to protect driveways from scratching/settling
- Always confirm you received every material before starting; don’t rely on yard delivery confirmations
- Leave some leftover shingles for future repairs
Photo Examples

Resources
- 2015 Michigan Residential Code & 2021 IRC: R905.1.2, R905.2, R905.10, R905.13
- Metal Roofing Installation Guide
- EPDM Roofing Installation Guide
- Roofing Order Sheet