Framing
Framing refers to the wooden structure that holds up a home. In the 1700's it was common to build post and beam style houses in our territory because that's what European settlers were used to doing. Our abundant forests and tall trees quickly changed the way we build and eventually it became popular to "balloon" frame with tall studs that ran from the bottom plate all the way to the roof. After the Chicago Fire builders began shifting to "Platform Framing" where you build a floor system, stand up walls, then build another floor or roof on top of that, and continue upward one story at a time. We still use platform framing today.
TLDR
- Stage lumber in build order
- Plates, joists, blocks, subfloor, hangers, ledgerloks, anchor bolts, subfloor adhesive, sill seal, 2.5" screws or ring shanked nails
- Plates, studs, headers, beams, sheathing, tape, pocket doors
- Rafters, ceiling joists, ridge boards, sheathing, ply clips, ice and water, skylights, sun tunnels
- Temp bracing, lacers, fascia
- Flashing tape, shims, roofing nails, foam, sealant
- Plastic, tarps, hand drive nails, GRK screws
- Don't forget overhangs
- Add blocking, bridging, fire-stops
- Blueprint, window order, truss specifications
- Note light and switch locations
- Note mirrors and medicine cabinets
- Note bathroom accessory locations for blocking
Prerequisites
- Print window schedule or better the actual window order
- Get lumber on site in build order and covered up
- Trusses must be designed and confirmed
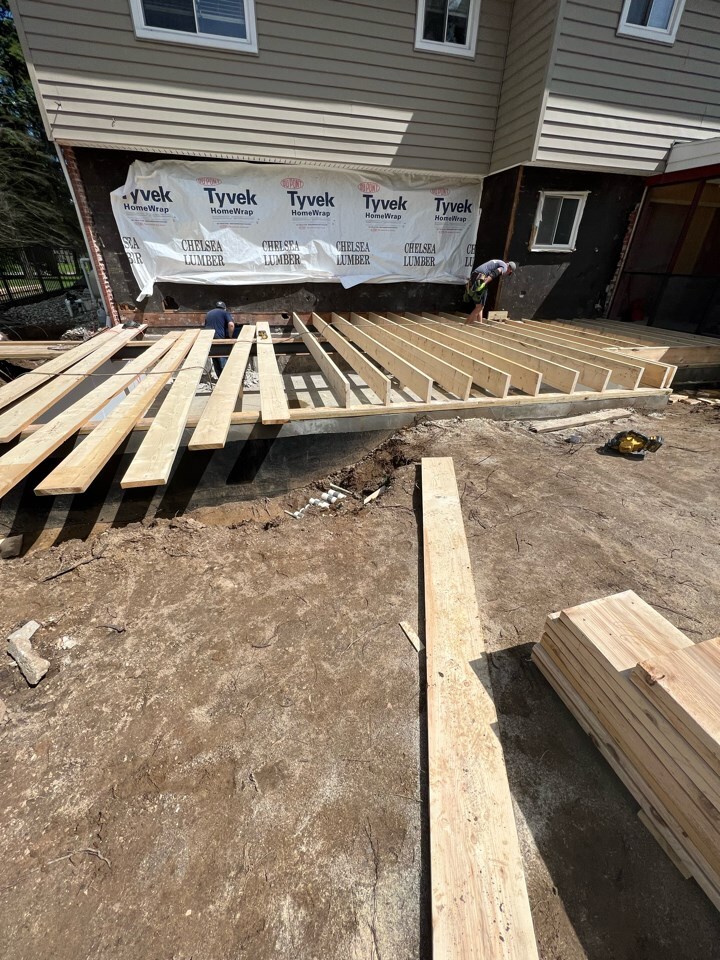
Floor Systems
Floors consist basically of joists and sheathing. Sometimes a joist is doubled up to form a beam, or some other type of beam is incorporated. The layout is often 16" on center (OC) although not always. Joists can be solid sawn lumber like 2x8, 2x10, or 2x12. There are other types of joists including truss Joists, floor trusses, engineered joists like LVL, and steel joists although these are less common in residences.
Ledgers
Ledgers should be screwed to the existing rim joist of a house using Fastenmaster LedgerLok screws spaced according to the instructions on the package (there are other installation methods but this is the simplest). Follow the instructions and try to offset screws so they will still be visible after floor joists are installed.
Joists
Joists should either sit on a plated foundation wall or in a joist hanger. Crown the joist so that it rests like a mountain, not a valley. Joists should be fastened down to a plate with at least 3 toenails, 2 on one side and 1 opposing. They can also be held down with a hurricane tie or similar bracket for additional uplift support. When joists are longer than 8’ blocking can be installed to help reinforce and stiffen the floor system.
Remember to square the joists and check spacing before installing subfloor, and space them so that they don't interfere with critical drain lines or ducts. When building above existing walls, line the joists up with the studs below to aid other trades when running utilities from wall to floor.
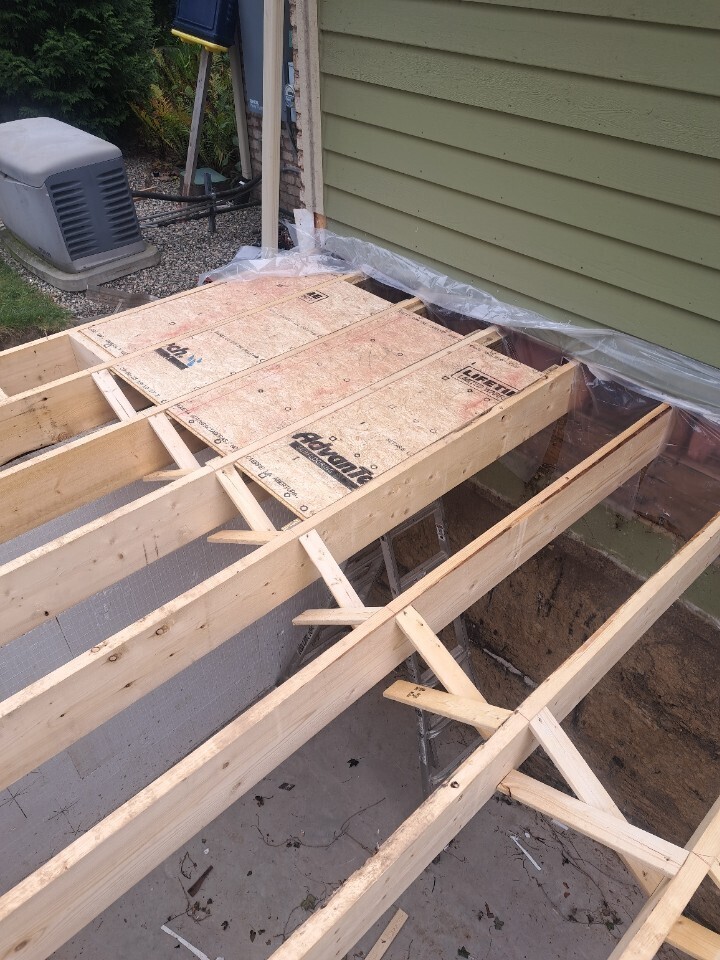
Subfloor
Subfloor or sheathing should be glued and nailed using ring shank nails or screwed down with 2.5” structural screws like GRKs. Use the appropriate subfloor glue, do not substitute for PL3X or another kind. Subfloor glue tubes should be cut square so the bead is large and round, it will form a skin on the top leaving the inside gooey. When you lay the sheet of subfloor down, the skin will dissolve back into the glue and bond correctly. Other glues do not do this.
It is important that subfloor is nailed or screwed soon after placing to make sure it is tight against the joists before the glue begins to cure. Stagger joints and use full sheets whenever possible.
Prepare for dropped subfloor in walk-in showers to keep slope low.
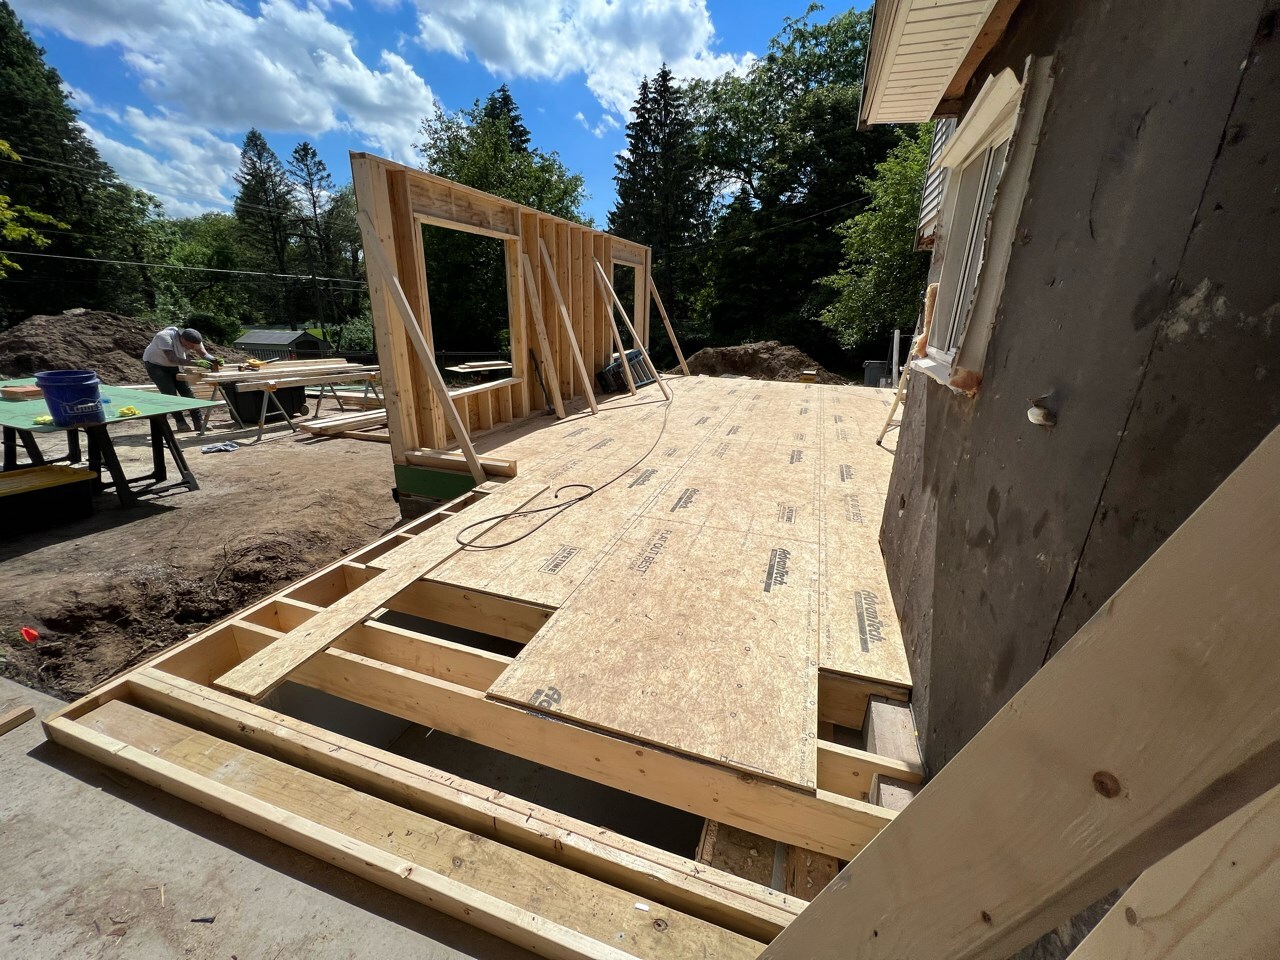
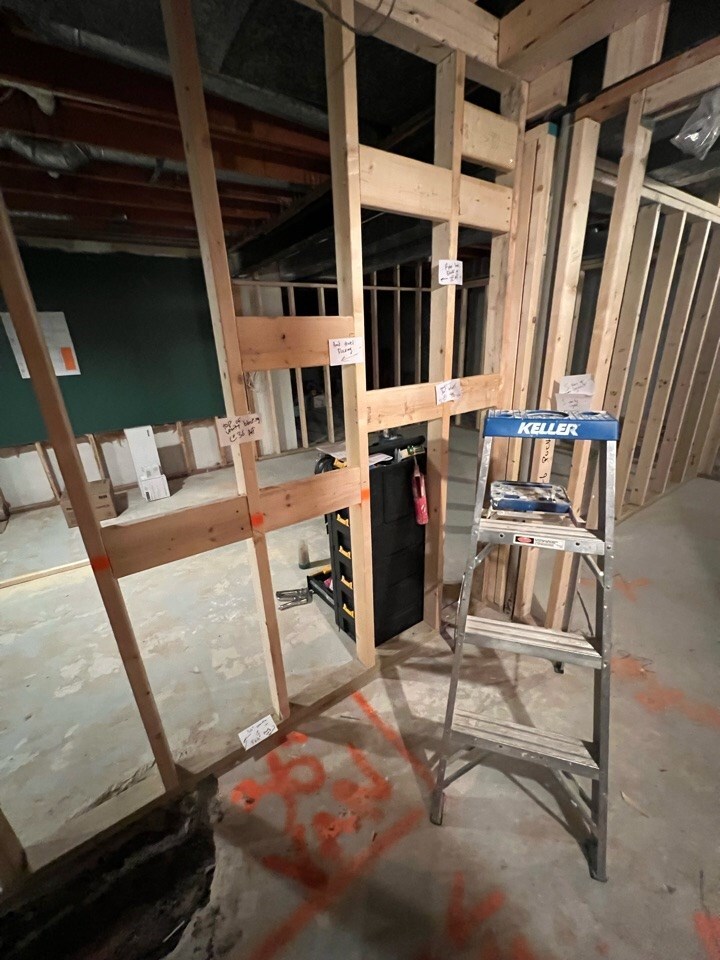
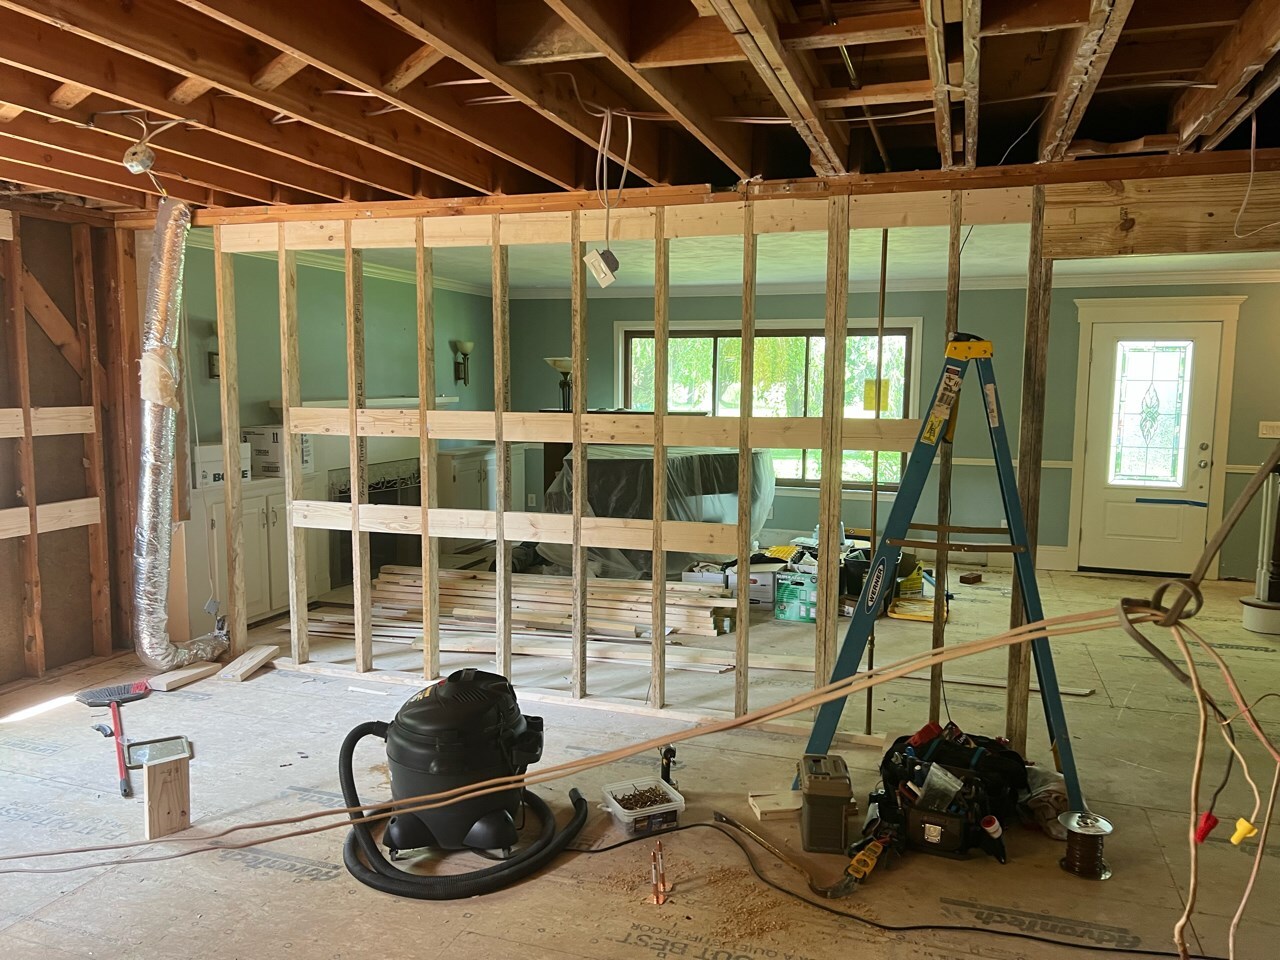
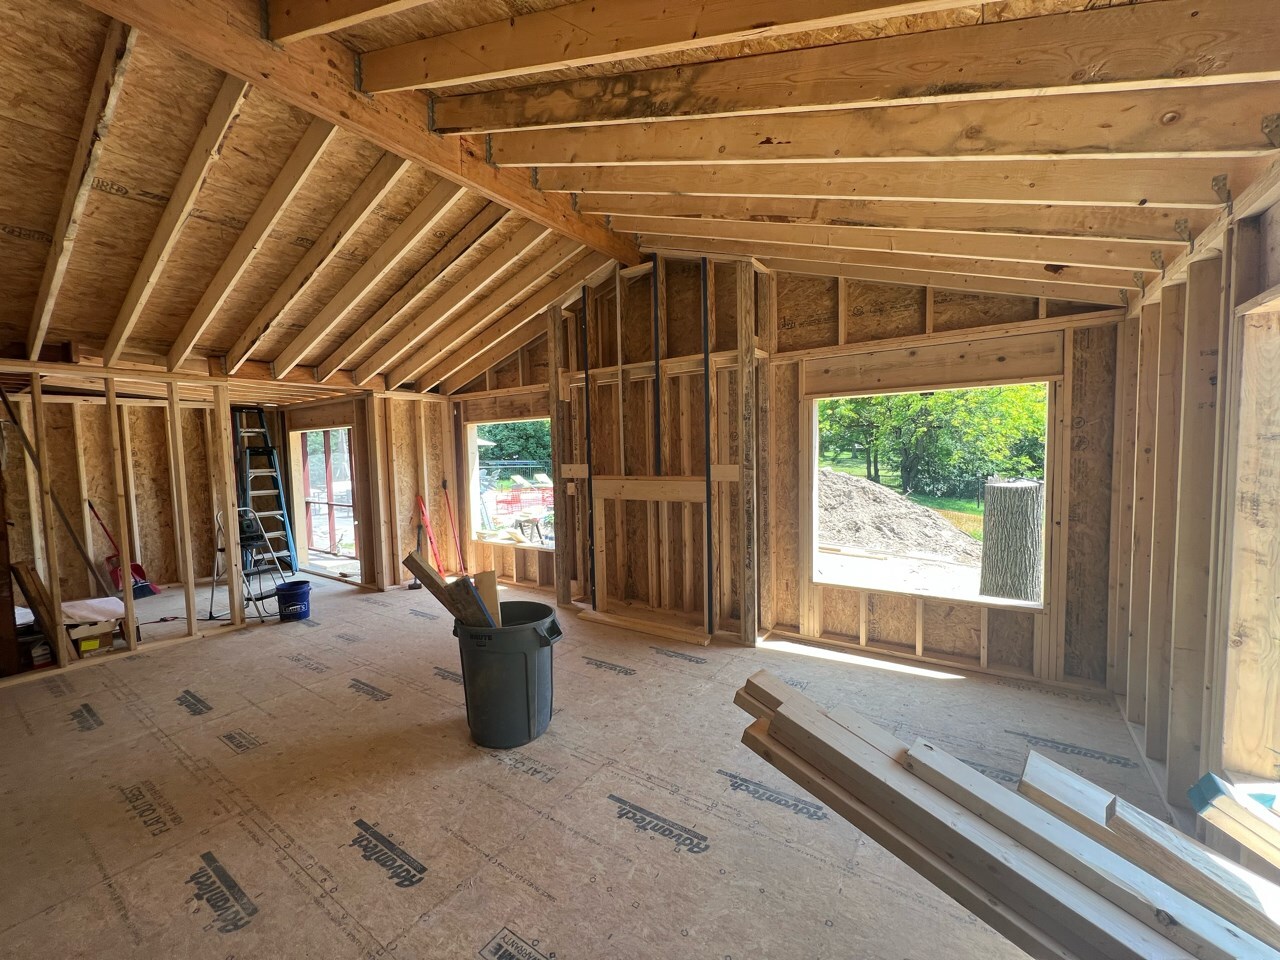
Walls
Walls are built with long plates at the top and bottom and studs between the two. They can also include headers to span openings.
Headers
Headers should be built on the ground when possible. For 2x6 walls put the framing toward the exterior allowing insulation and wiring to be installed in the cavity this forms toward the interior. Headers can usually be build with 3” sinkers and do not always need HeadLok screws.
Studs
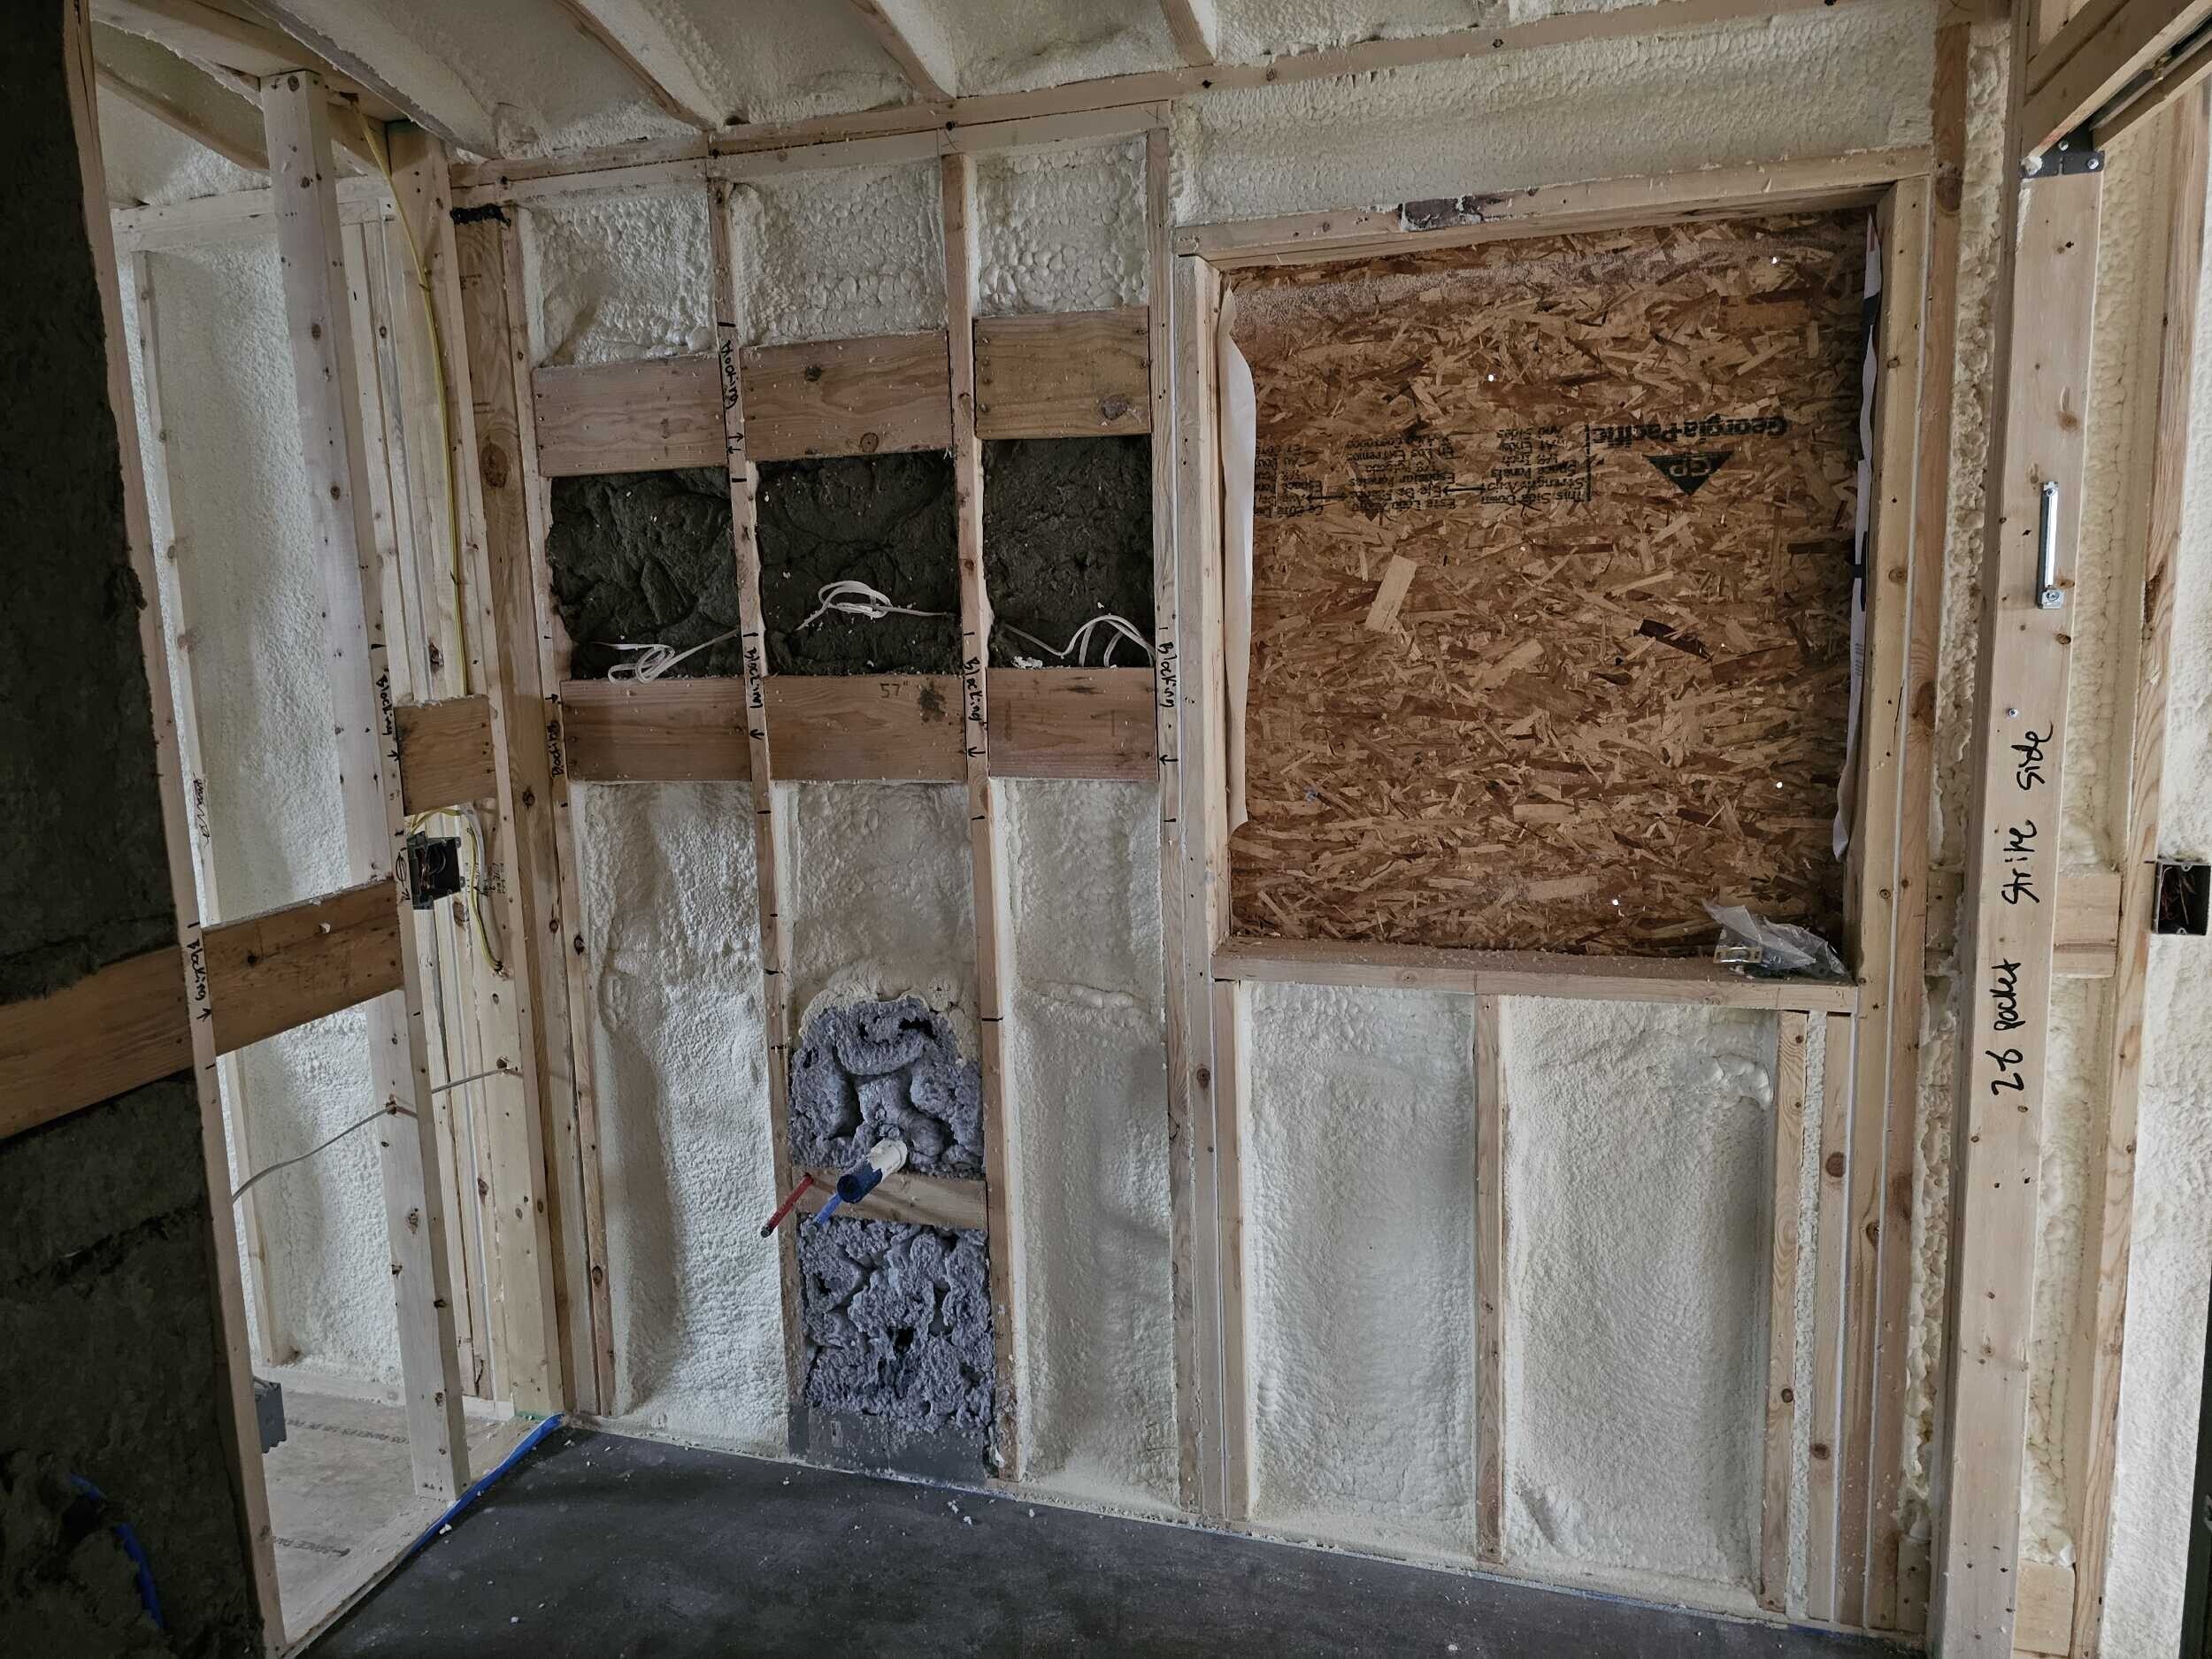
Studs should lay out on top of floor joists to allow trades to install from floor cavity to wall cavity. Corners and wall bucks should be framed to allow the insulator access to fill later. Walls taller than 10’ will need blocking to keep cavities shorter than 10’ tall.
Remember to frame walls with studs away from shower valves, light switch locations, etc.
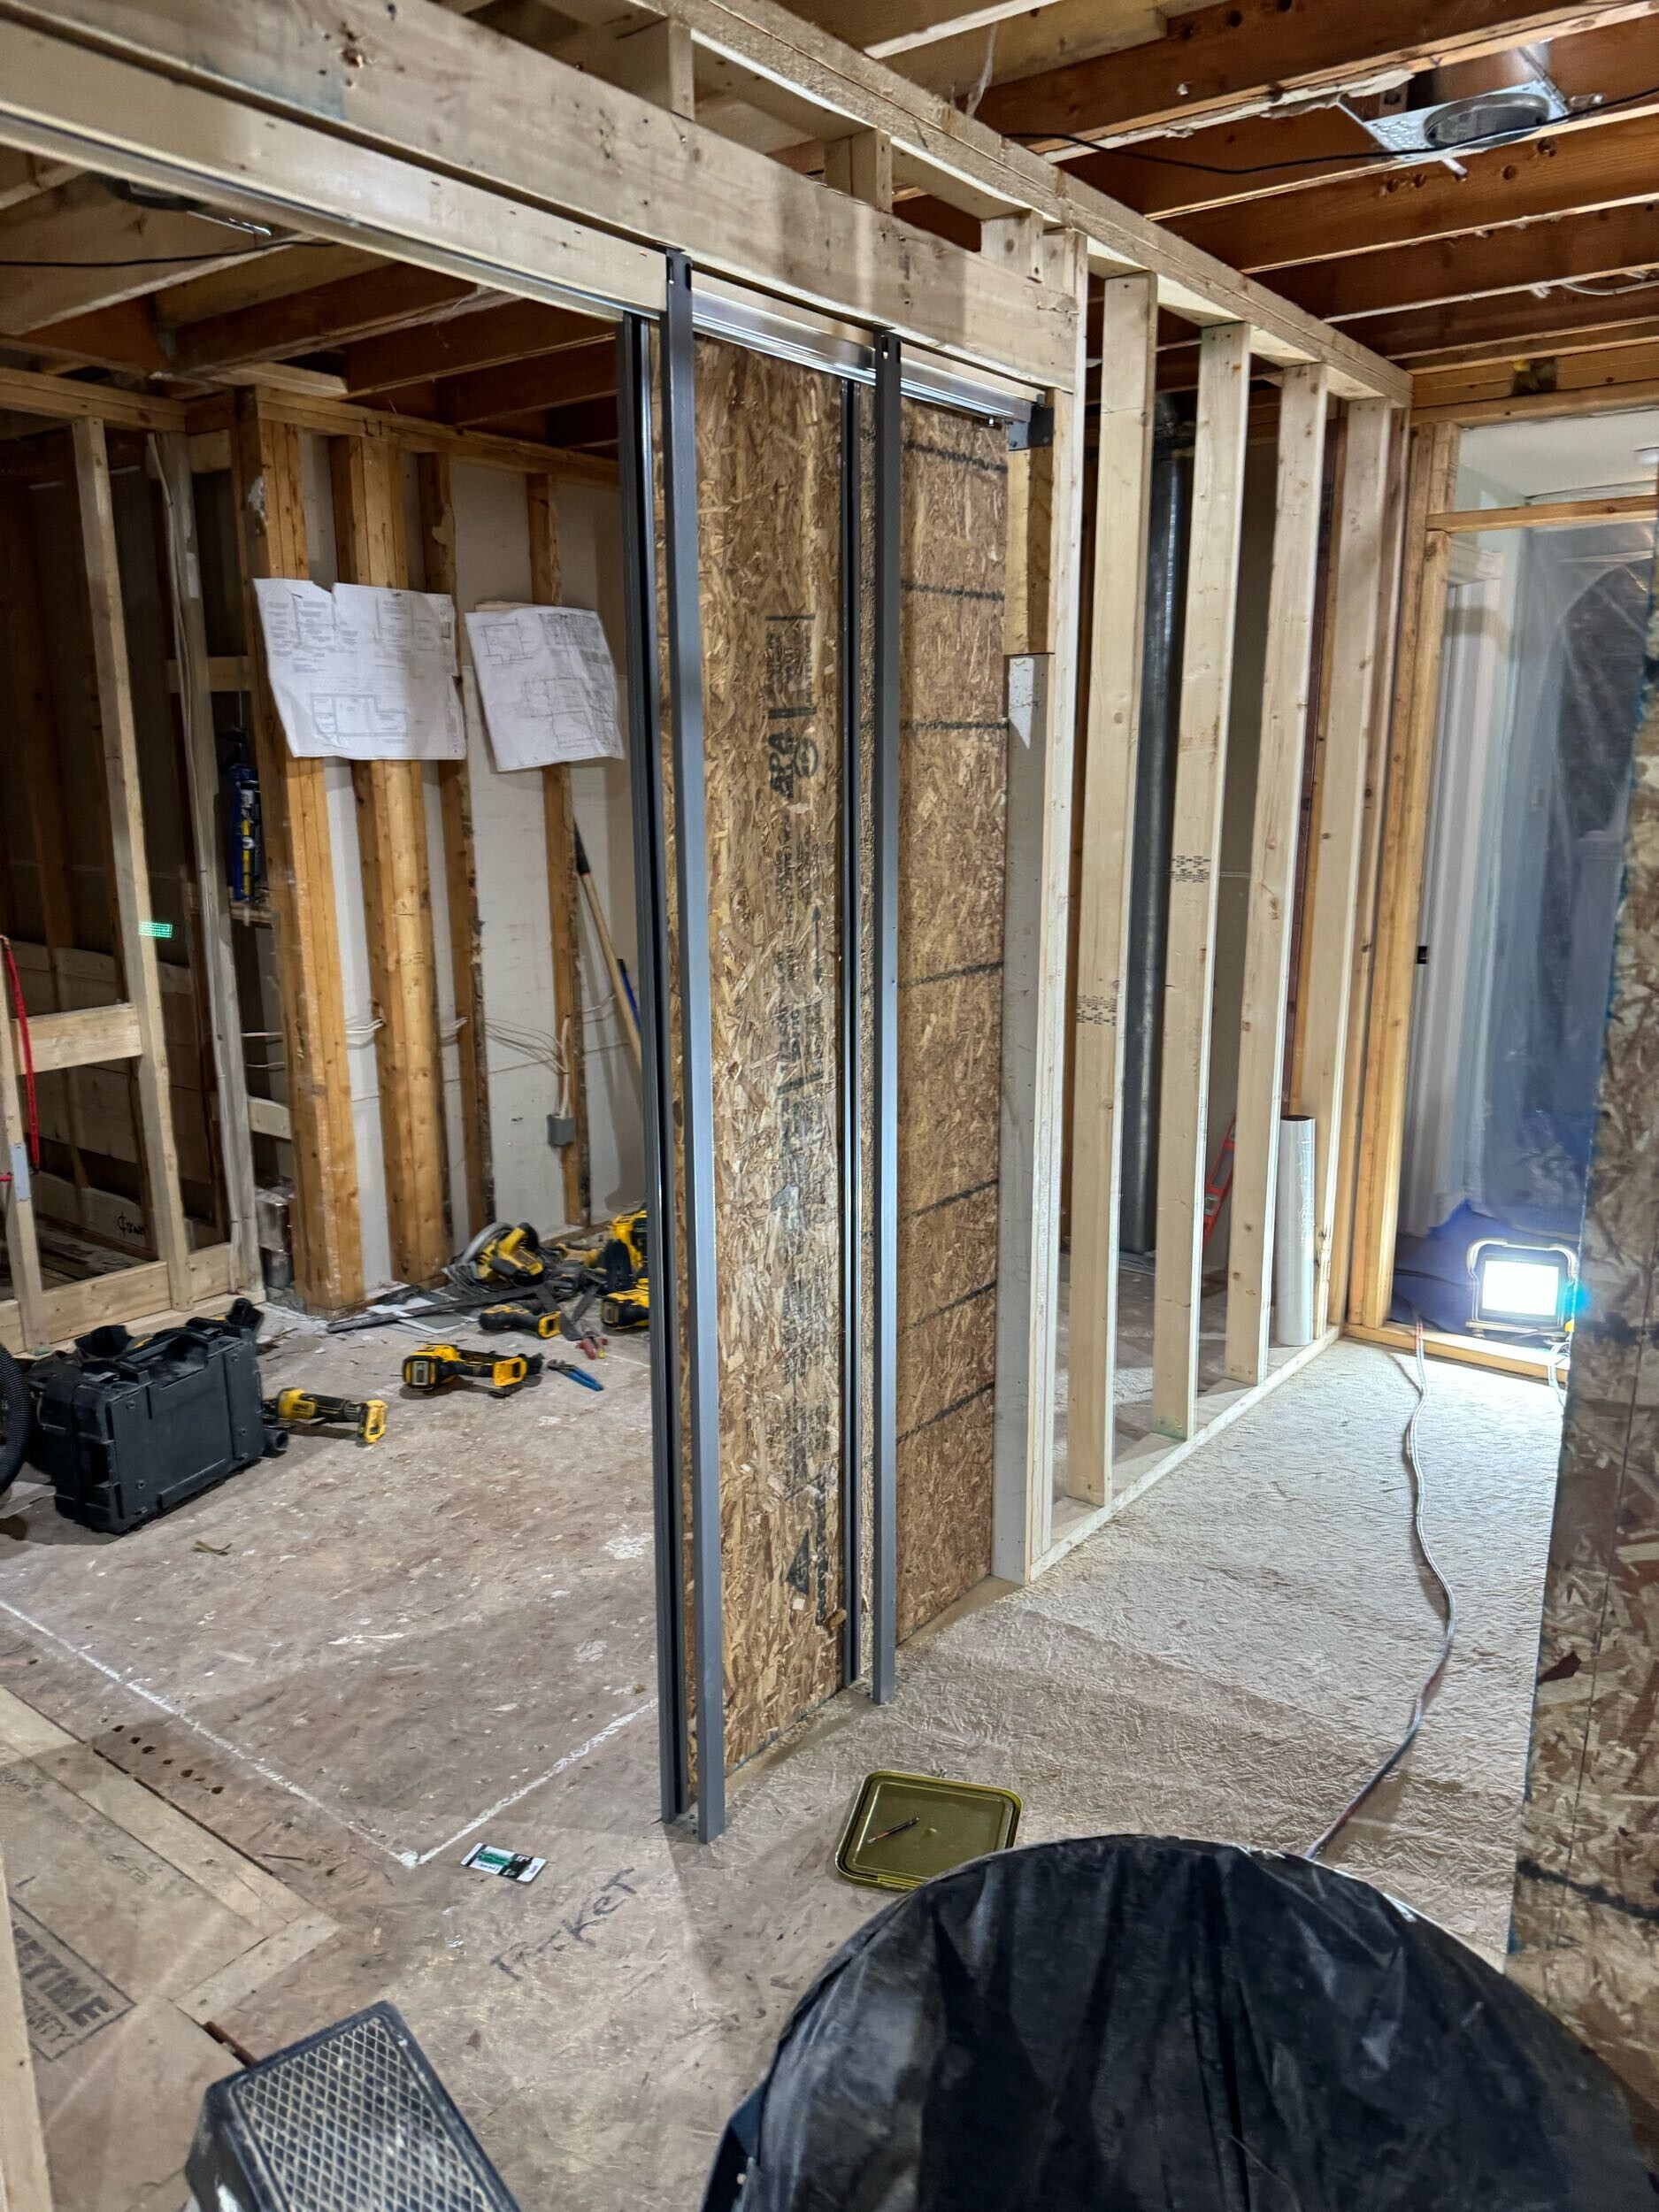
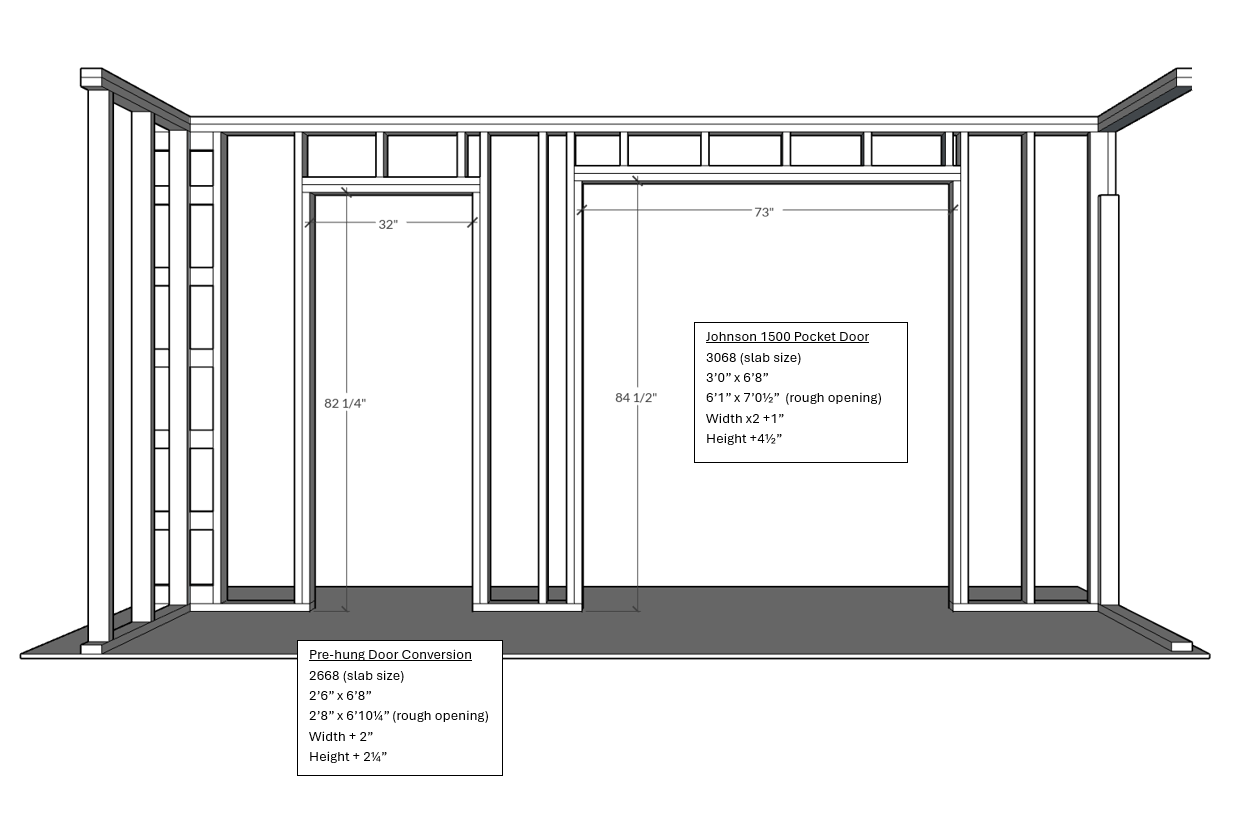
Interior Door Openings
Drawings may call doors out in many different ways, here are the common equivalents and the Rough Opening (RO) that they require
- Callout: 2668
- Meaning: 2'6" wide x 6'8" tall door slab (not frame)
- Rough Opening: 2'8" x 6'10.25"
Blocking
Install blocking before trades arrive for the following items to be mounted later
- Toilet roll
- Grab bars
- Robe hooks
- Hand towel holders
- Towel rods
- Shower glass
- Tub rims
- Shower enclosure edges
- Closet rod/shelf
- Wall hung tvs
- Floating shelves
- Mirrors
- Medicine cabinets
- Cabinets
- Floating vanities
- Wainscoting
- Stair handrails
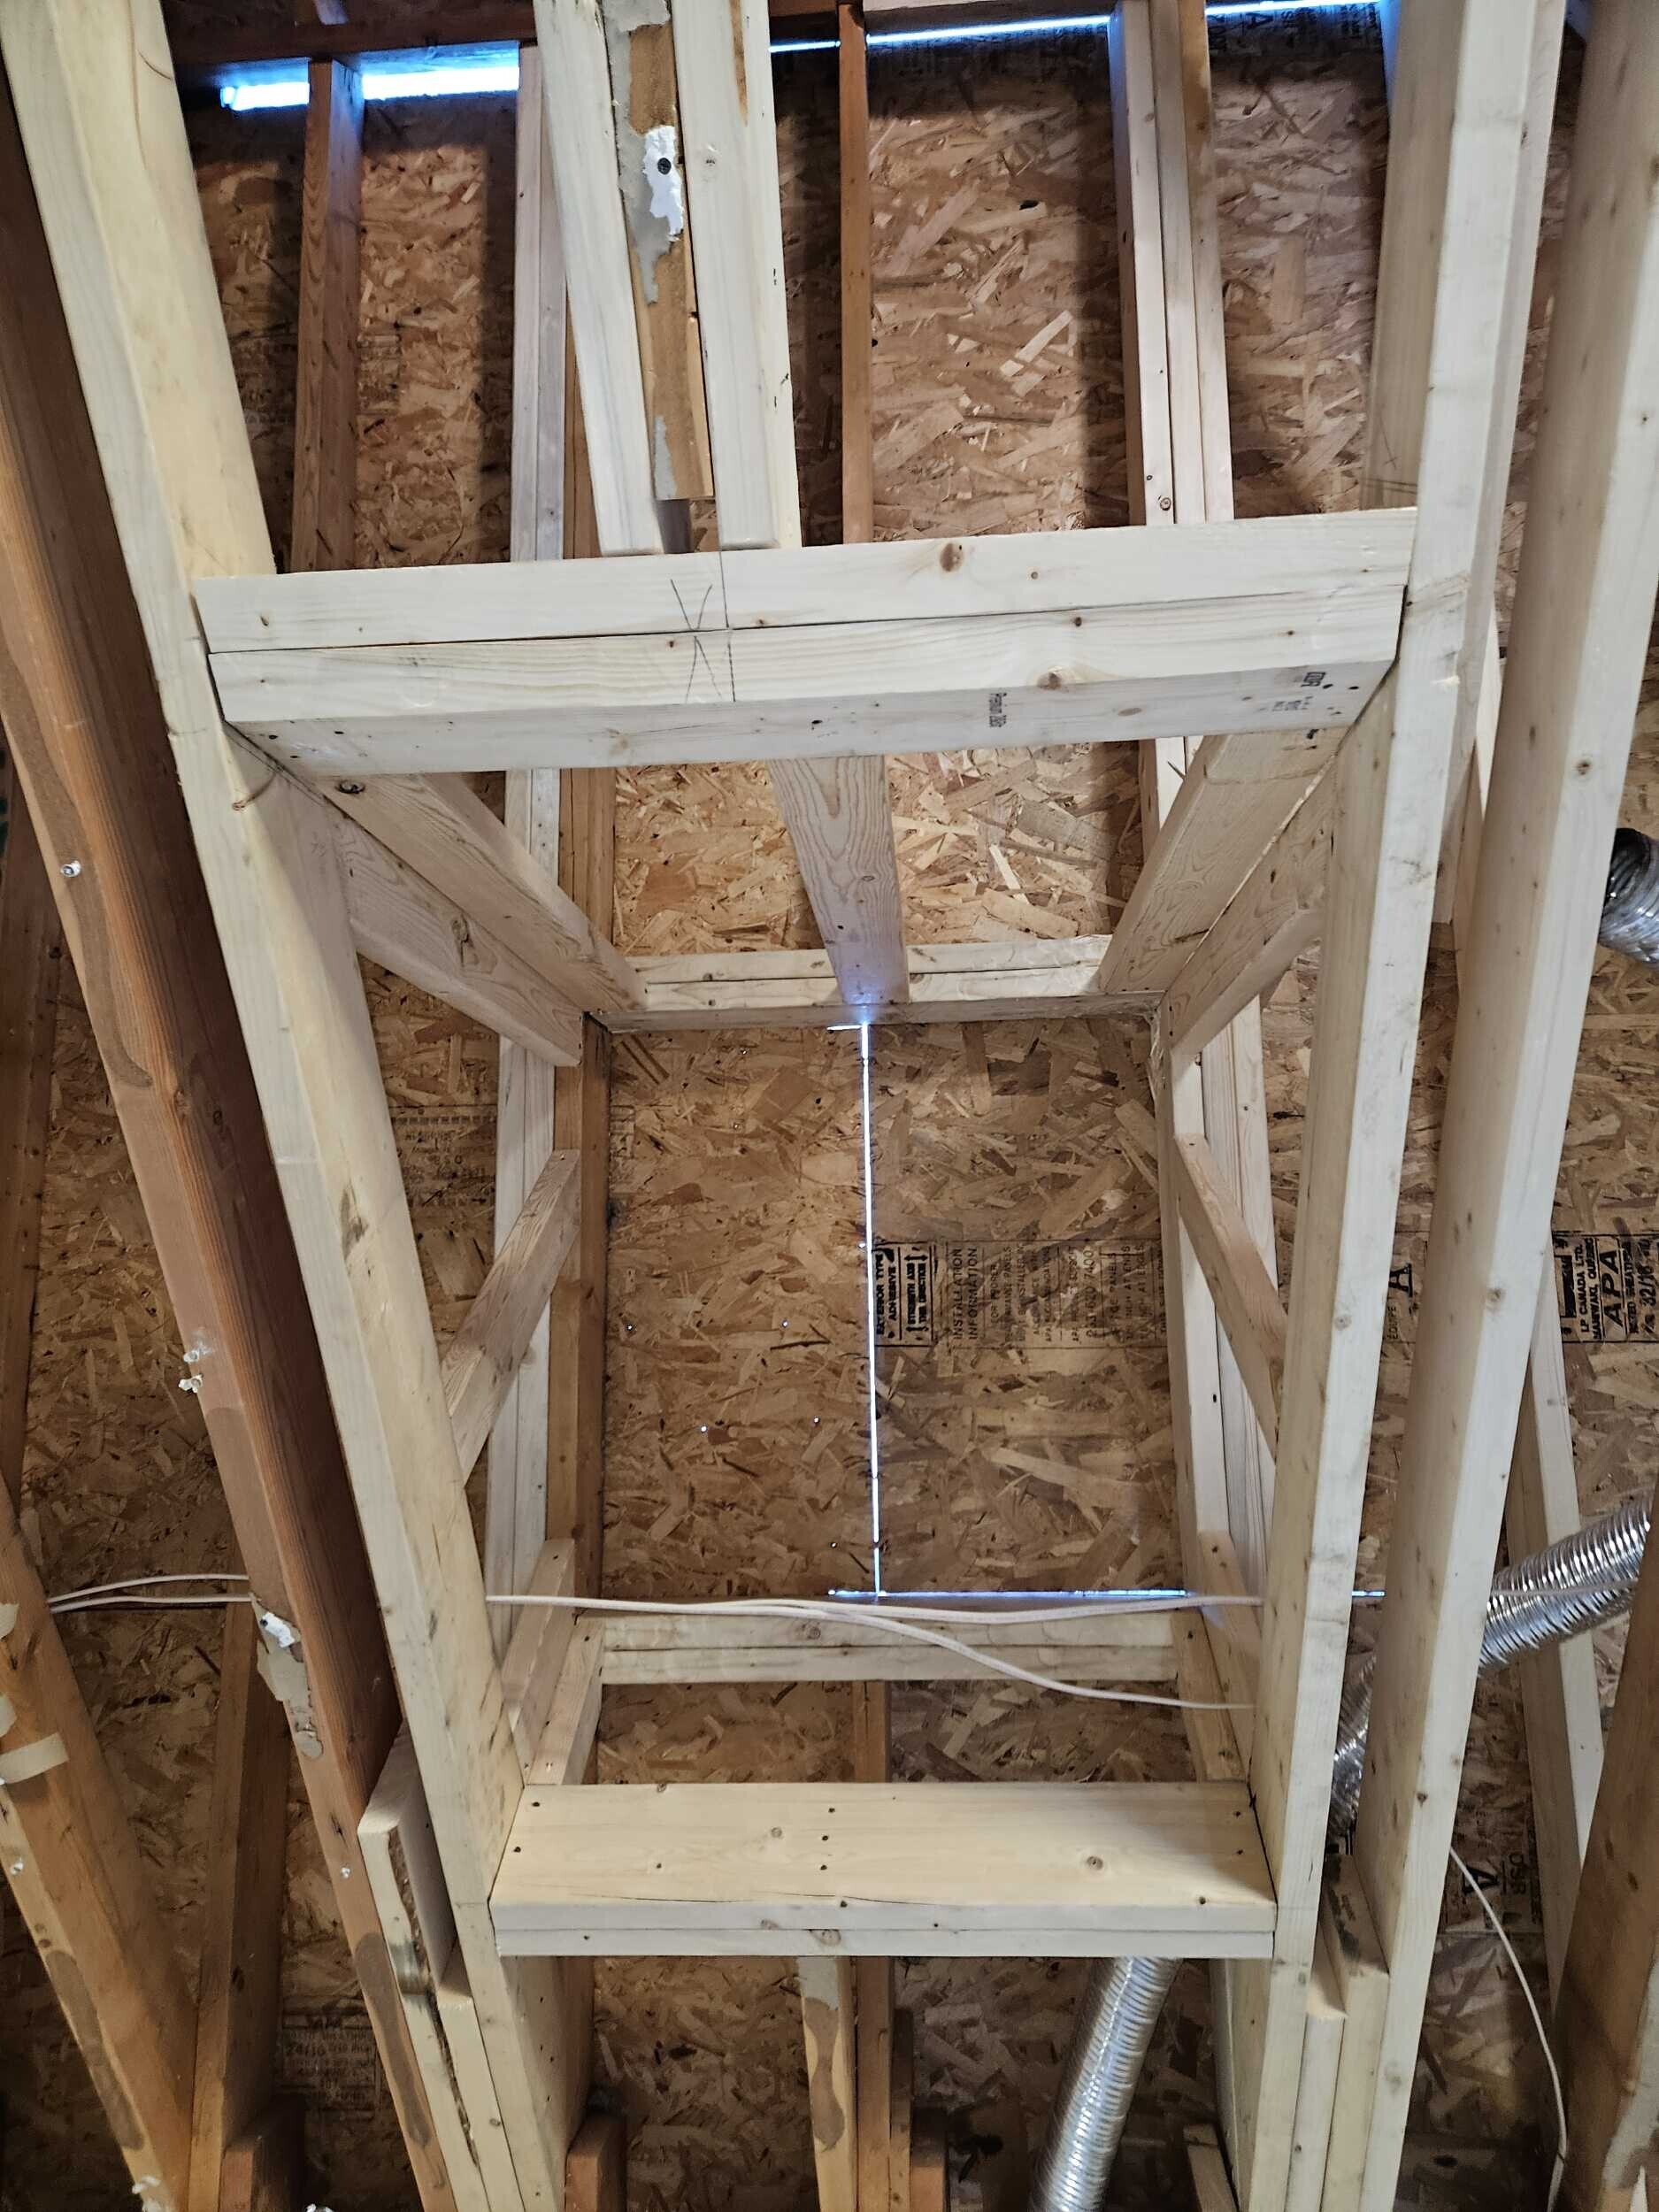
Sheathing
Install sheathing according to spacing called out in the 2015 Michigan Residential Building Code R602.3(3)
- Edge fastener spacing: 6" OC nailing
- Field fastener spacing: 12" OC nailing
Staircases
Remember that staircases have very specific requirements depending on which building code your jurisdiction enforces.
- Minimum clear width 36" measured above the handrail height. If handrails are installed on both sides, minimum clear width between handrails must be 27".
- Riser Height: Maximum 7 3/4" (7.75") with no more than 3/8" variation between landings.
- Tread Depth: Minimum 10" measured horizontally from nosing to nosing with no more than 3/8" variation between landings.
- Nosings are required if the tread depth is less than 11" and nosings must project between 3/4" and 1 1/4".
- Headroom: Minimum vertical clearance of 80" measured from tread nosing vertically to the ceiling.
- Handrails are required when there are four or more risers, and installed between 34" and 38" above the tread nosing. Handrails must be continuous for the full length of the stair flight, from the top riser to the bottom riser and return to the wall or newel post.
- Landings are required at the top and bottom of every stairway and a minimum of at least 36 inches.
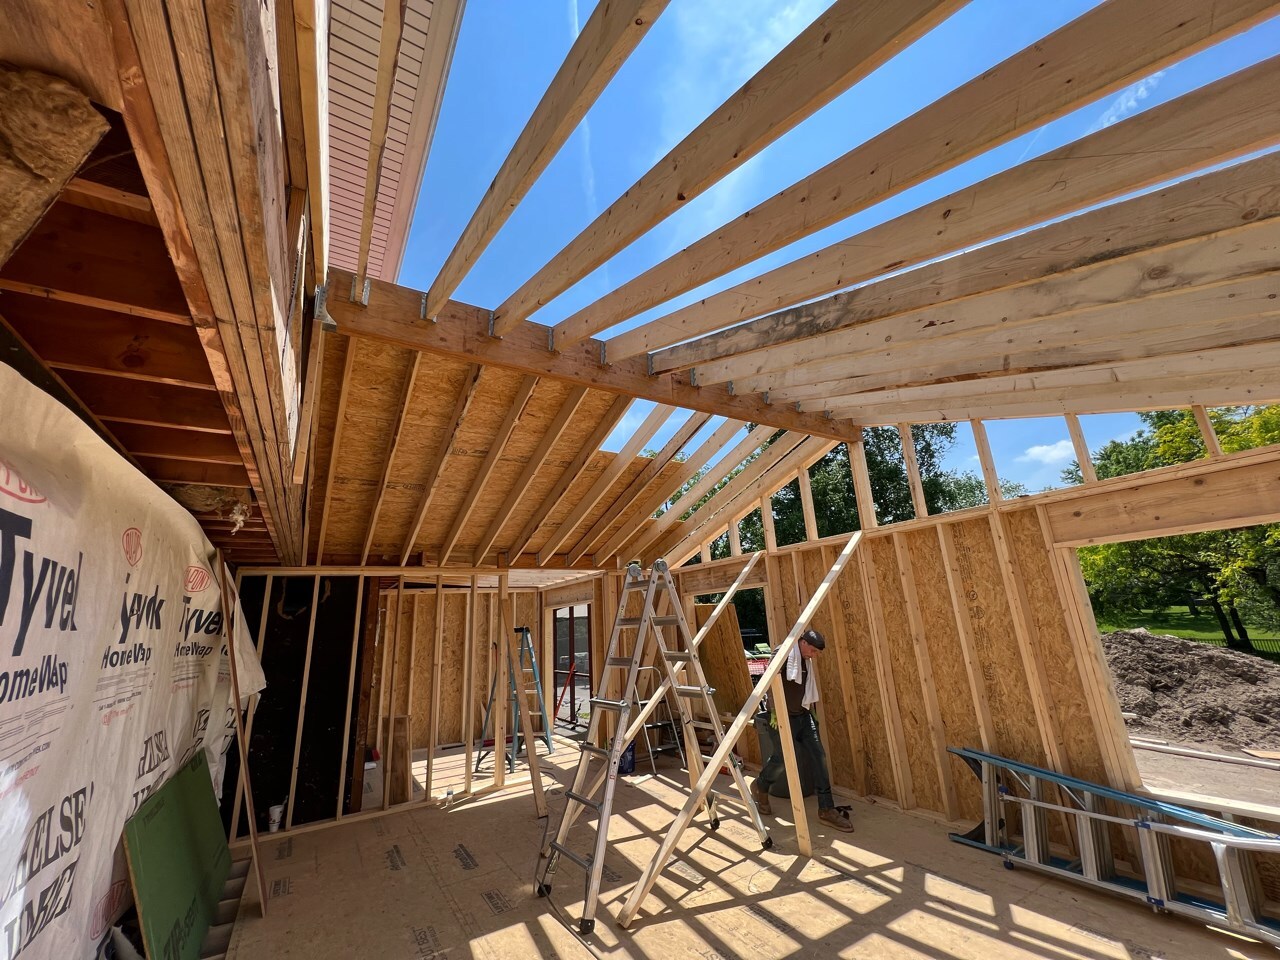
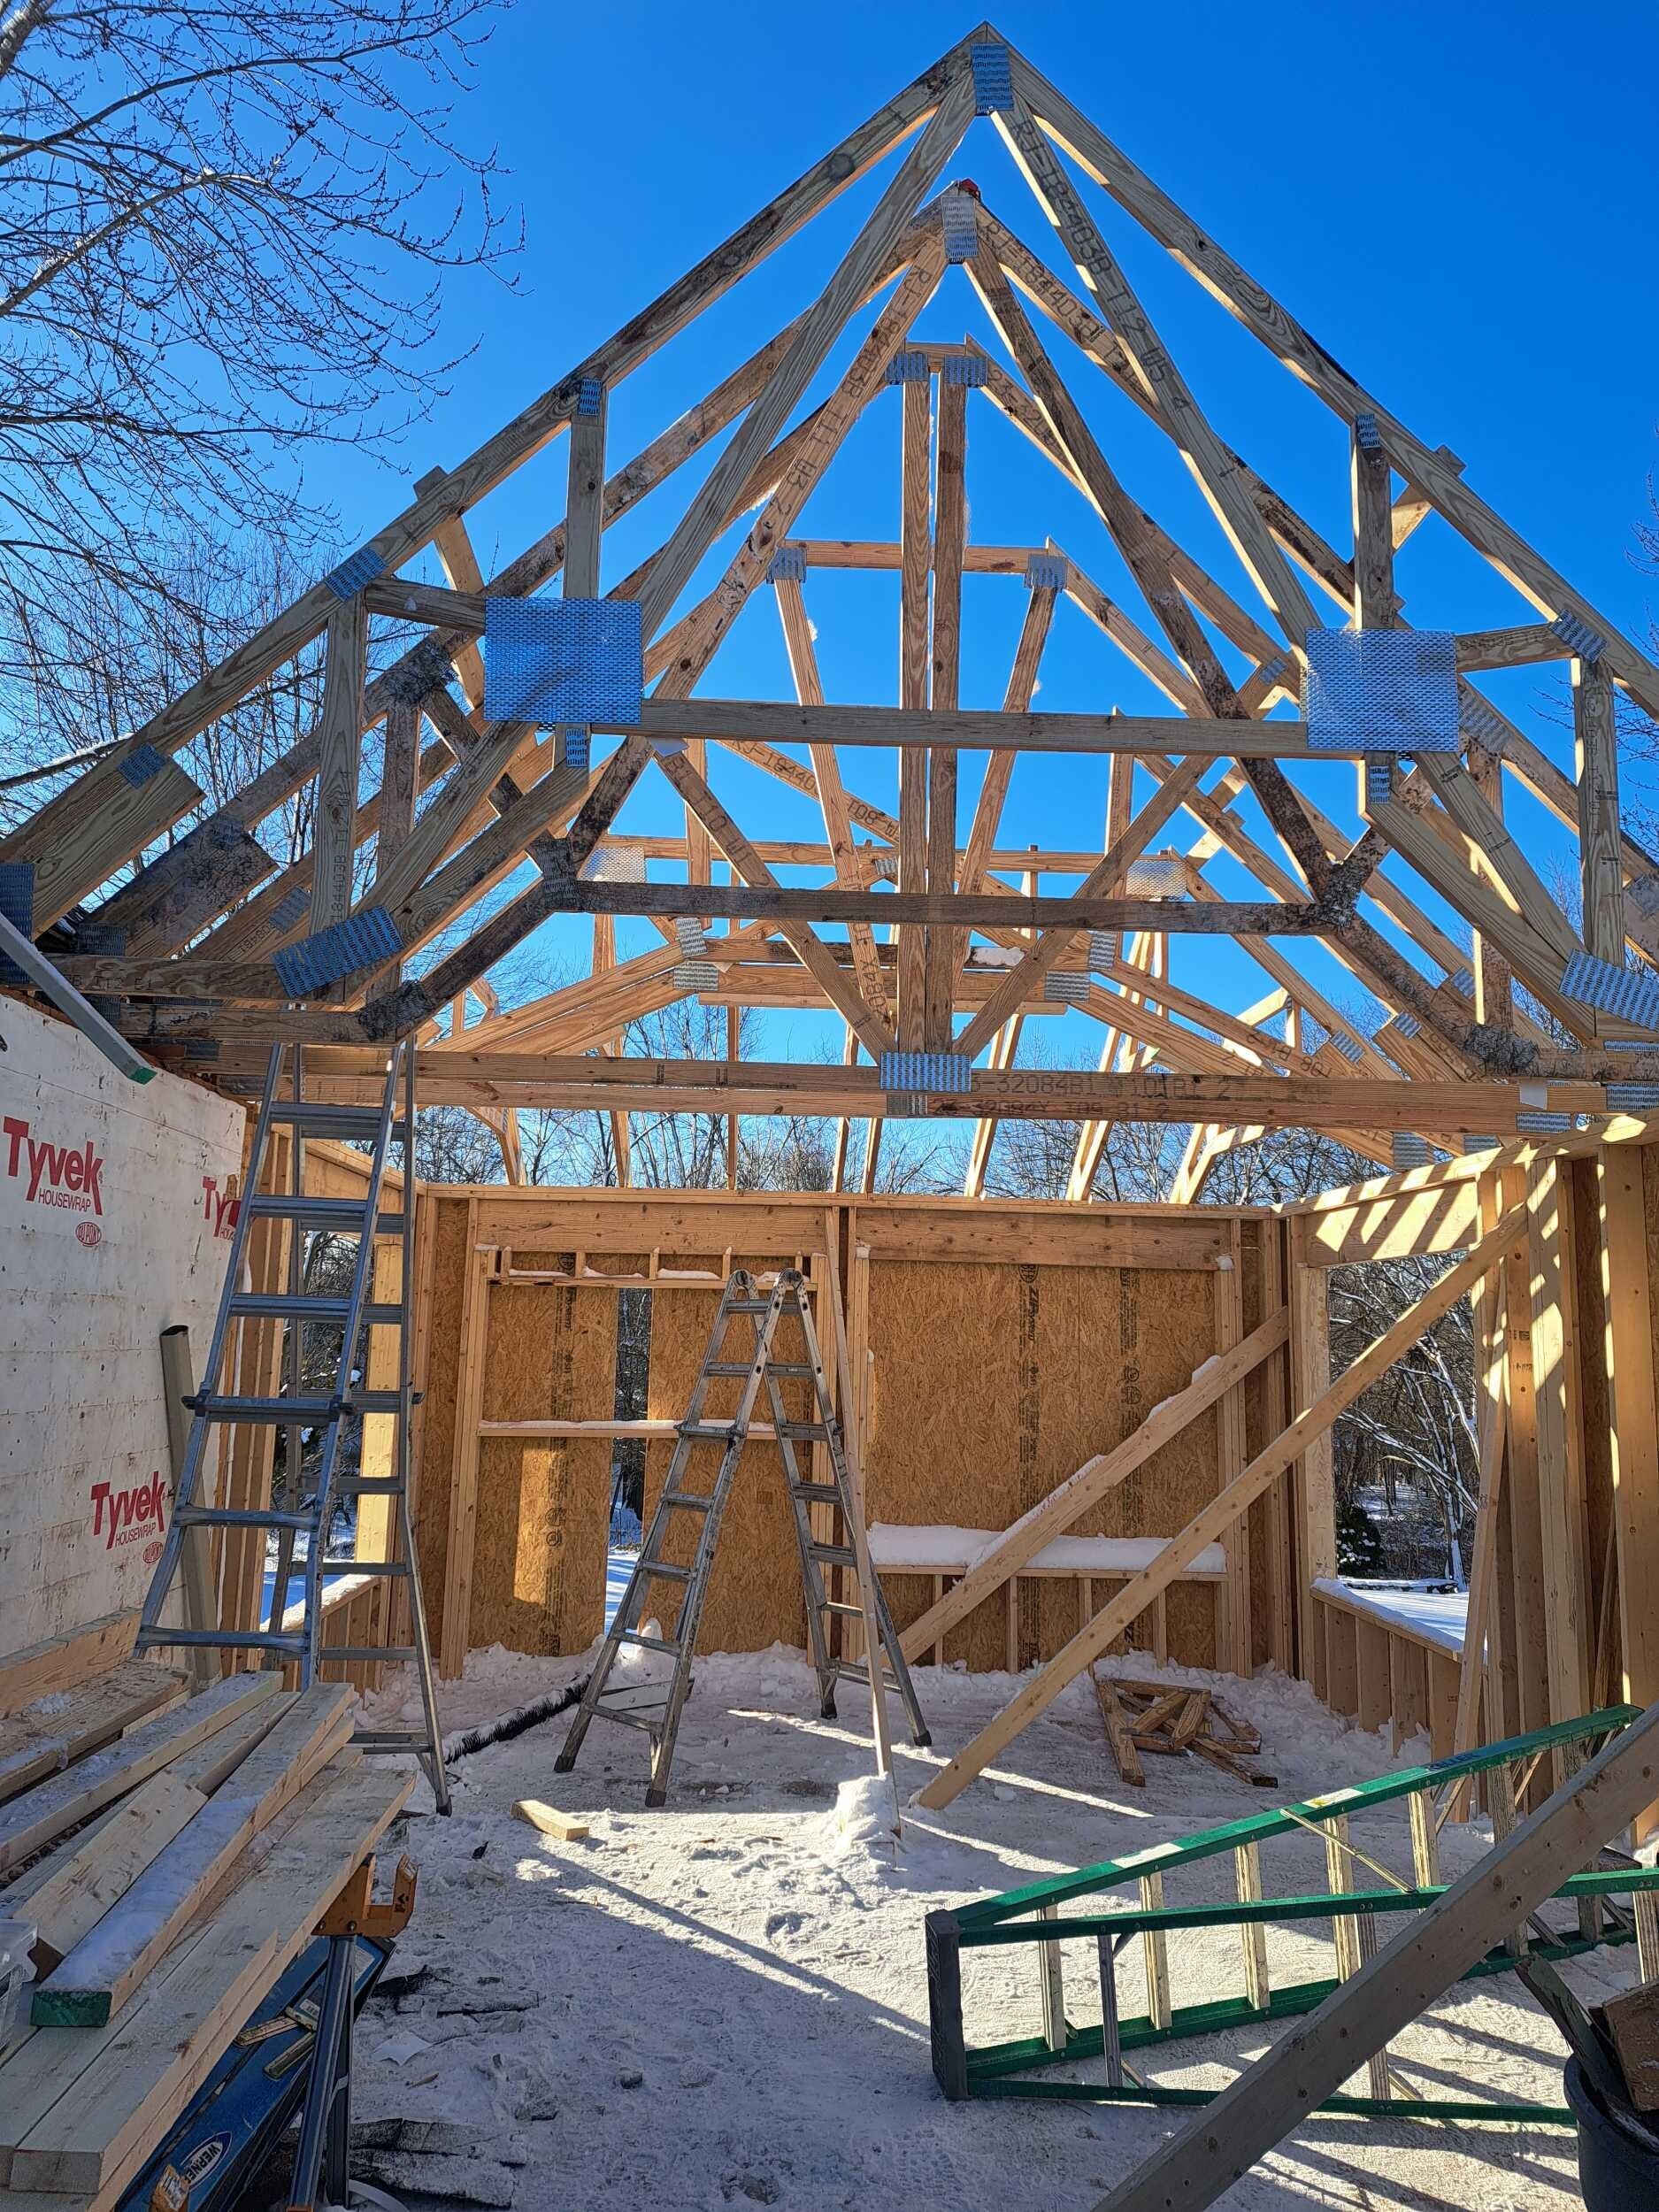
Roofs
Roofs can be hand framed using dimensional lumber cut and installed on site or framed with trusses, which are ordered, manufactured off site and delivered on a flatbed truck.
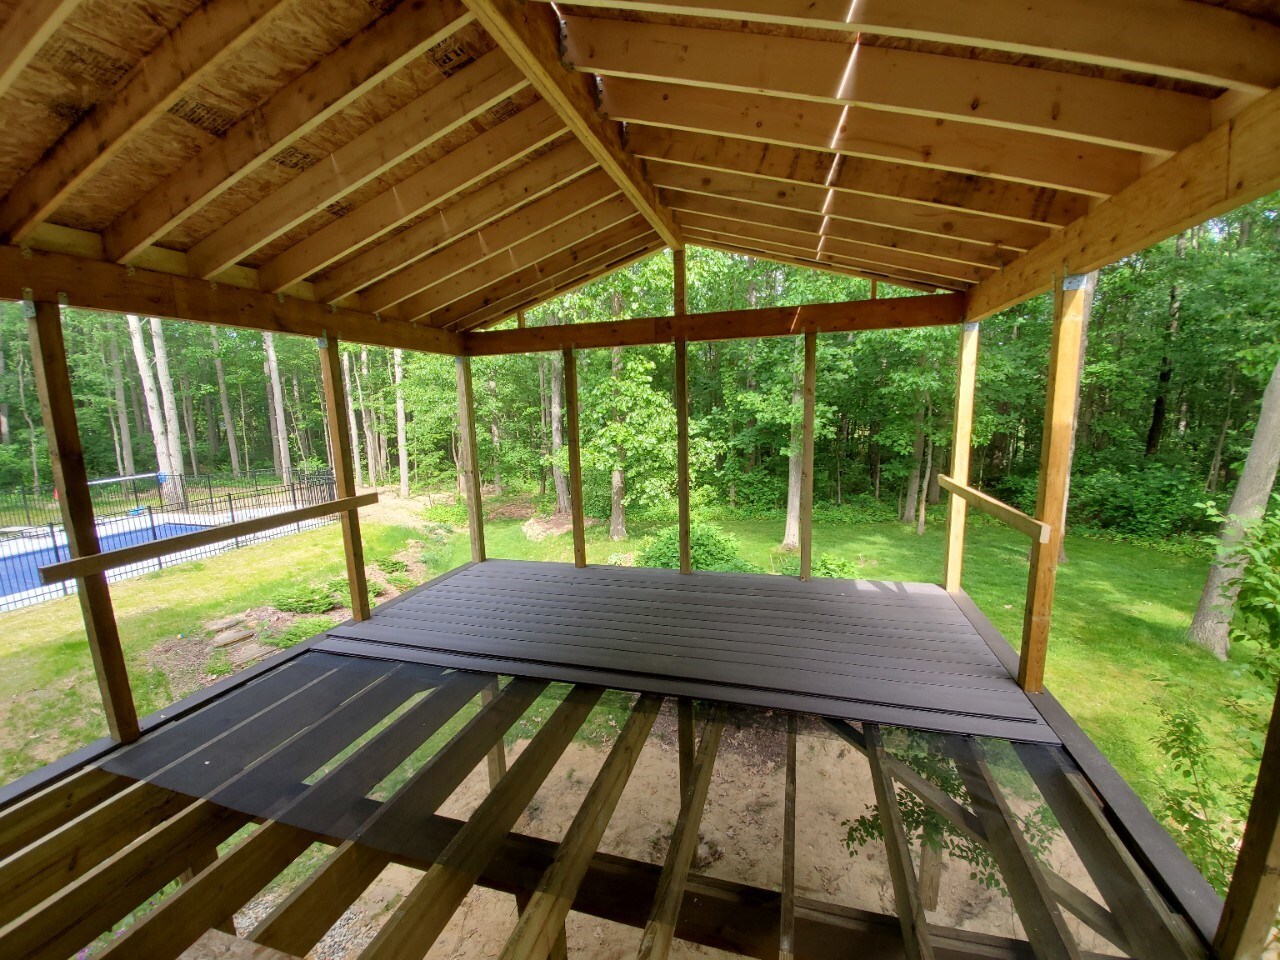
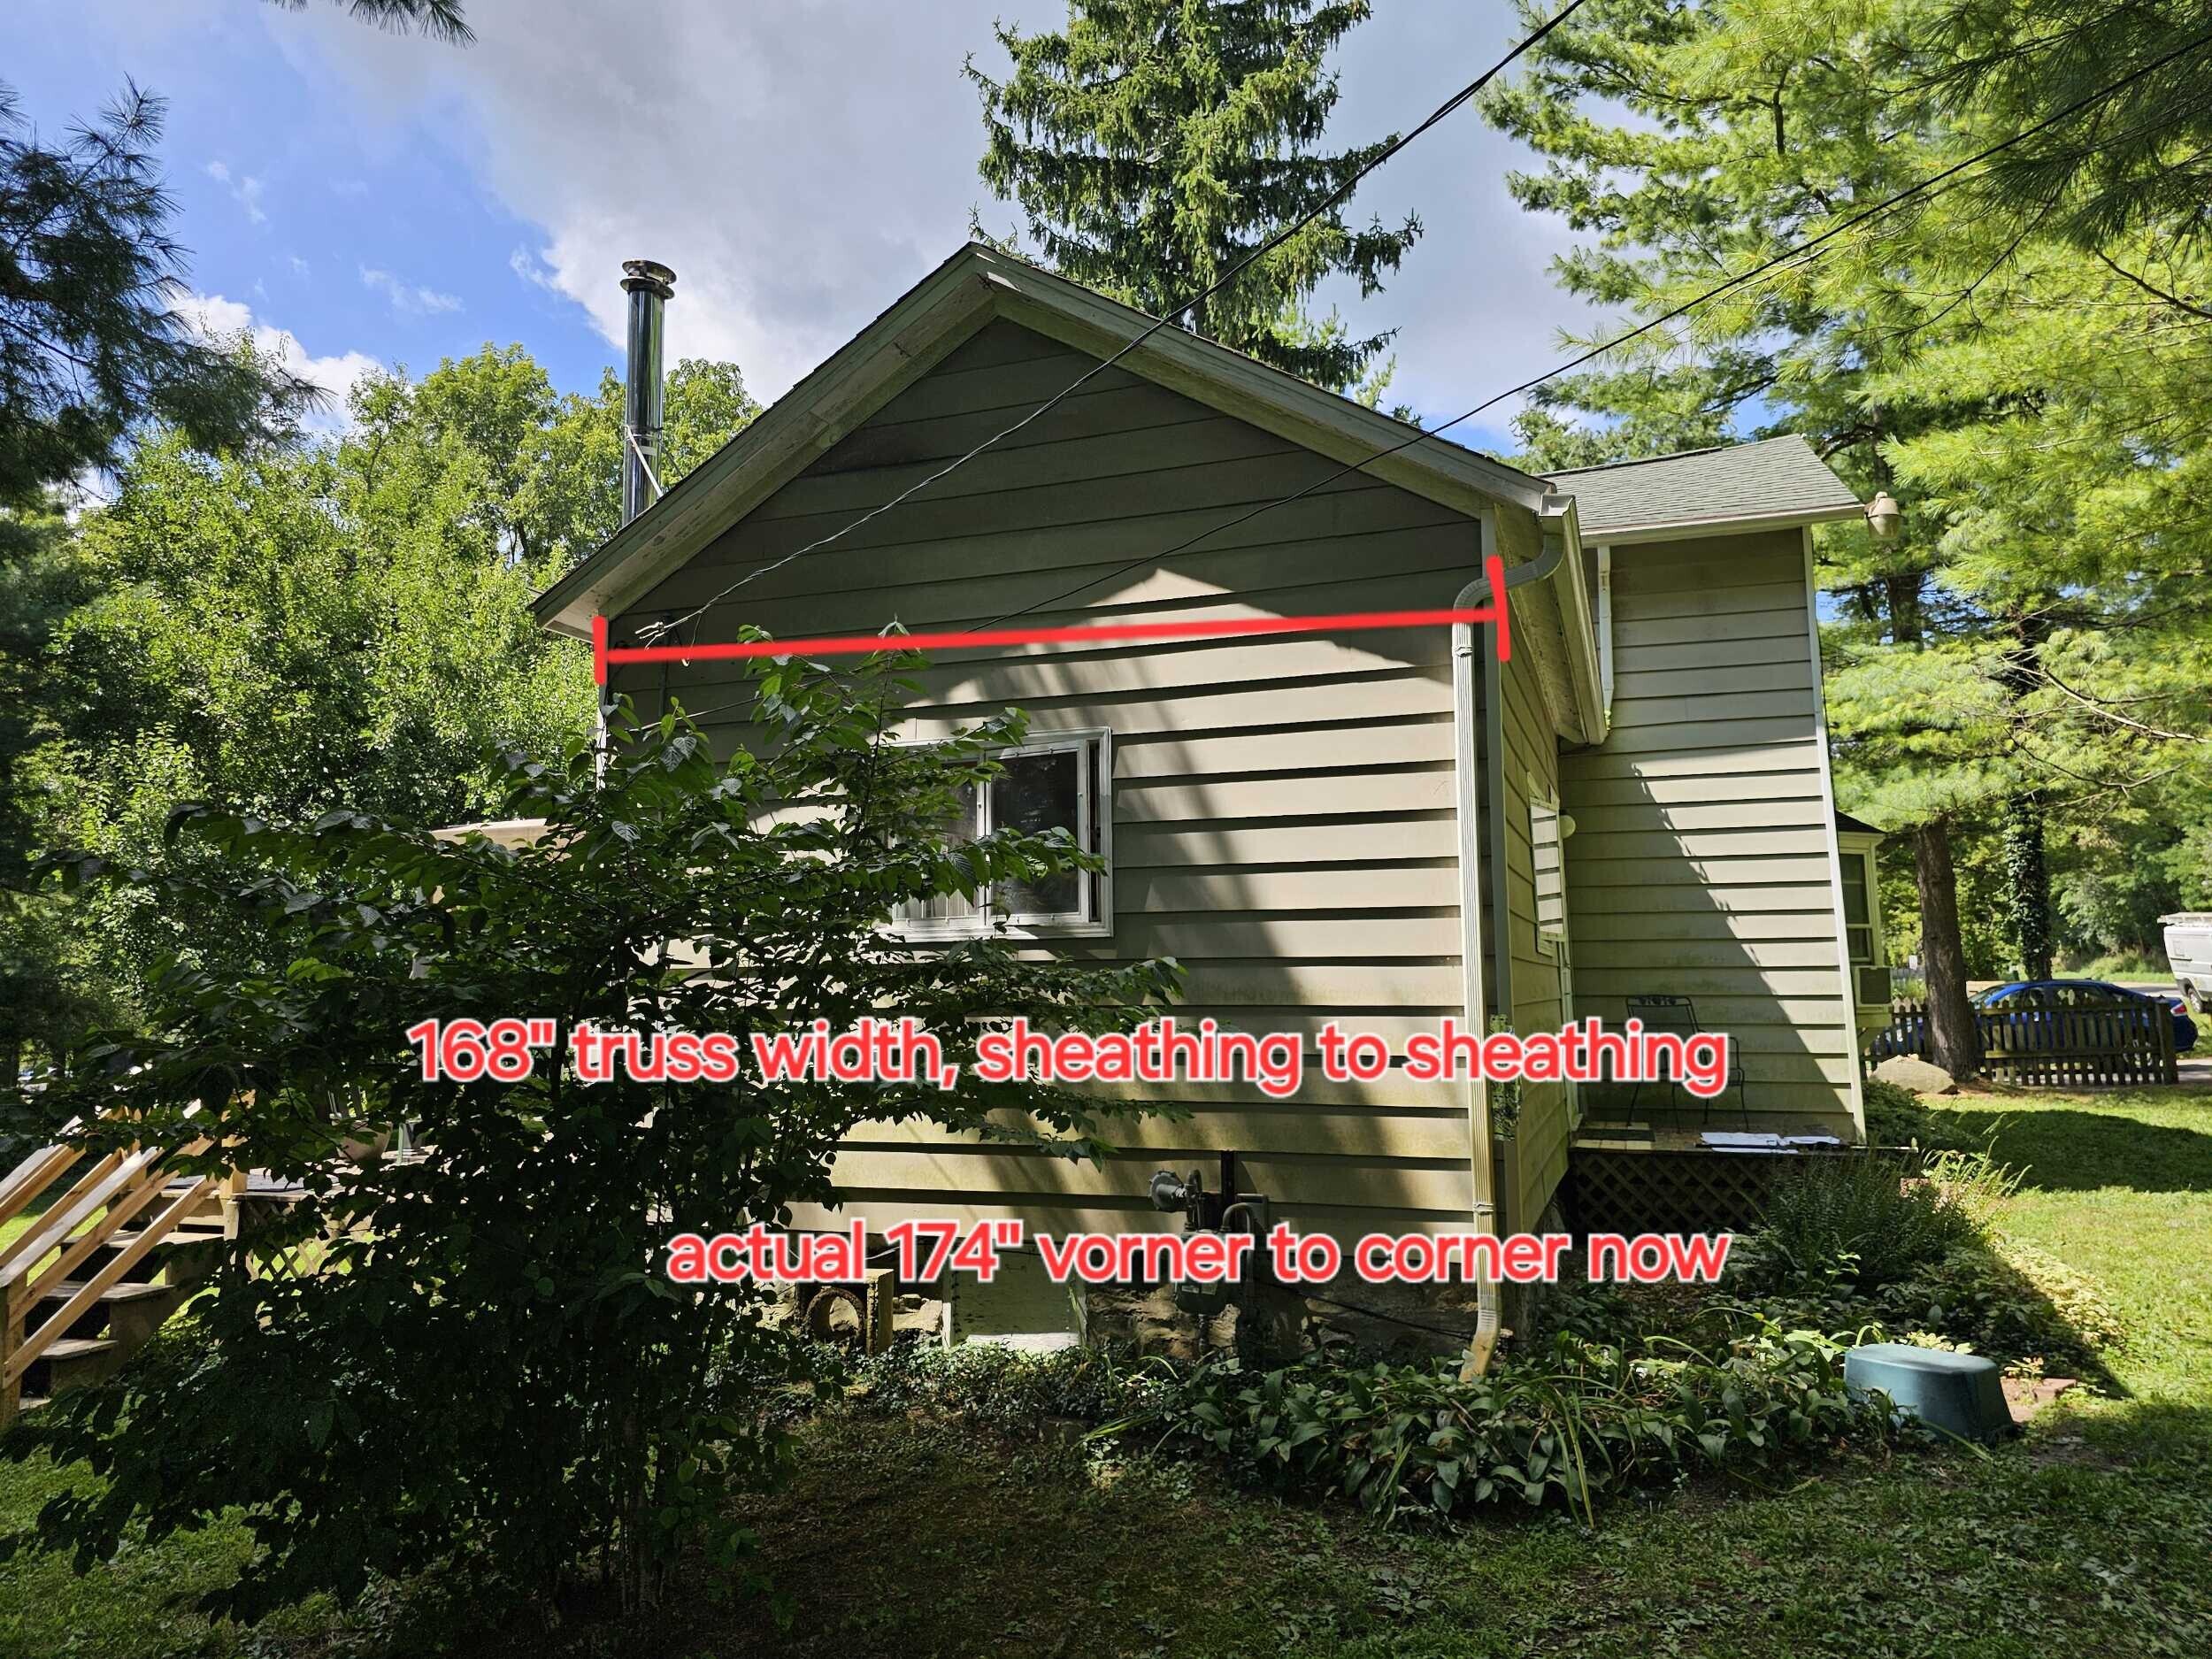
Trusses
You must measure on site for trusses, do not trust that the drawing is accurate, although some designs offer more flexibility than others. Trusses can be designed for hipped roofs, vaulted or tray ceilings, overhangs, or with chases built in. Remember that they must be ordered a few weeks/months before you need them. Delivery must go right to the site because they are generally so large that they require a special permit to ship and the local lumber yard may not be equipped to do that. They will arrive on a flat bed truck and dropped off the back of it into the yard or street so you will have to arrange to hand carry them to the right location.
Trusses are usually installed on 24” centers, and require lacers and drywall backing that isn’t always included in the lumber order. Make sure to account for this. Account for skylights when laying out framing. They are best used on standalone buildings or additions that are separated from the main structure, but can be used to extend an existing roofline but you'll want to confirm the heel height and roof slope before ordering.
Remember to order
- Fascia (boral or azek) with the roof framing so that its ready for roofers
- Double check truss dimensions on site, do not trust the print
- Order lacers per the truss drawing
Hand Framing
Hand cutting a roof means you get dimensional lumber delivered to site and cut rafters rather than installing pre-made trusses. This option can take more time on site but may be a better option in some cases where there are some unknown conditions and flexibility is required. Best used on lay-on roofs or extensions of roofs where planing is important
Roof Sheathing
Roof sheathing should be 1/2" OSB. When you order your lumber you may want to order a few rolls of ice and water shield or roof underlayment so that you can waterproof the structure partially or temporarily before the roof is installed.
Zip sheathing is nice for a roof because you can tape the seams and be mostly water tight but above a 5 or 6 pitch roof, the coating is quite slippery and much harder to walk safely than standard OSB.
You'll want to install plywood clips when your roof framing is 24" OC

Process
- Call to order material
- Treated sill plates
- Joists
- Floor sheathing
- Wall plates (single bottom, double or single top)
- Studs (precut or not)
- Ceiling joists
- Rafters
- Ridge boards
- Headers
- Beams
- Pocket door frames
- Stringers
- Temp framing
- Fascia
- Hardware
- Nails/staples
- Tapes
- WRB
- Skylights
- Sun Tunnels
- Choose a delivery date and location
- Build flat, level, plumb, and square
Inspections
Concealed Space Inspection: Optional to look at spaces that will be concealed before the next inspection.
Rough Building Inspection: This inspection is for the frame but cannot be completed until the trades have all completed their rough inspections. Some of the key items the inspector will look for are that all hardware is appropriately nailed with the correct fastener, that no hardware like joist hangers was missed. Staircases are compliant.
Best Practices / Pro Tips
Ship a tarp with the lumber so you can cover it to keep dry.
Call out your lumber order to the yard with what each piece is so you can print that list for the carpenter: 2x8-10' SPF headers
Have the yard stack the lumber upside down so your plates are on the top of the pile followed by joists, then floor sheathing, etc so you don't have to dig plates out from the bottom of the pile.
Select a quality pocket door like the Johnson 1500 or better. The best doors have soft closing hardware and can be fitted with inlayed plywood to allow fastening to them during the finish phase. Inlay with actual plywood and not OSB for maximum screw holding.
Client Interaction / Communication Notes
Clients don't often understand that they need to make most if not all of their selections before this point. They can't still be deciding between bathrooms with mirrors or medicine cabinets because those things get built into the wall. Wainscoting or tile thickness can be important for how you set up those rooms. Some decisions can be left until after but the builder should explain that making changes later can mean rework and be very expensive.